Table of Contents
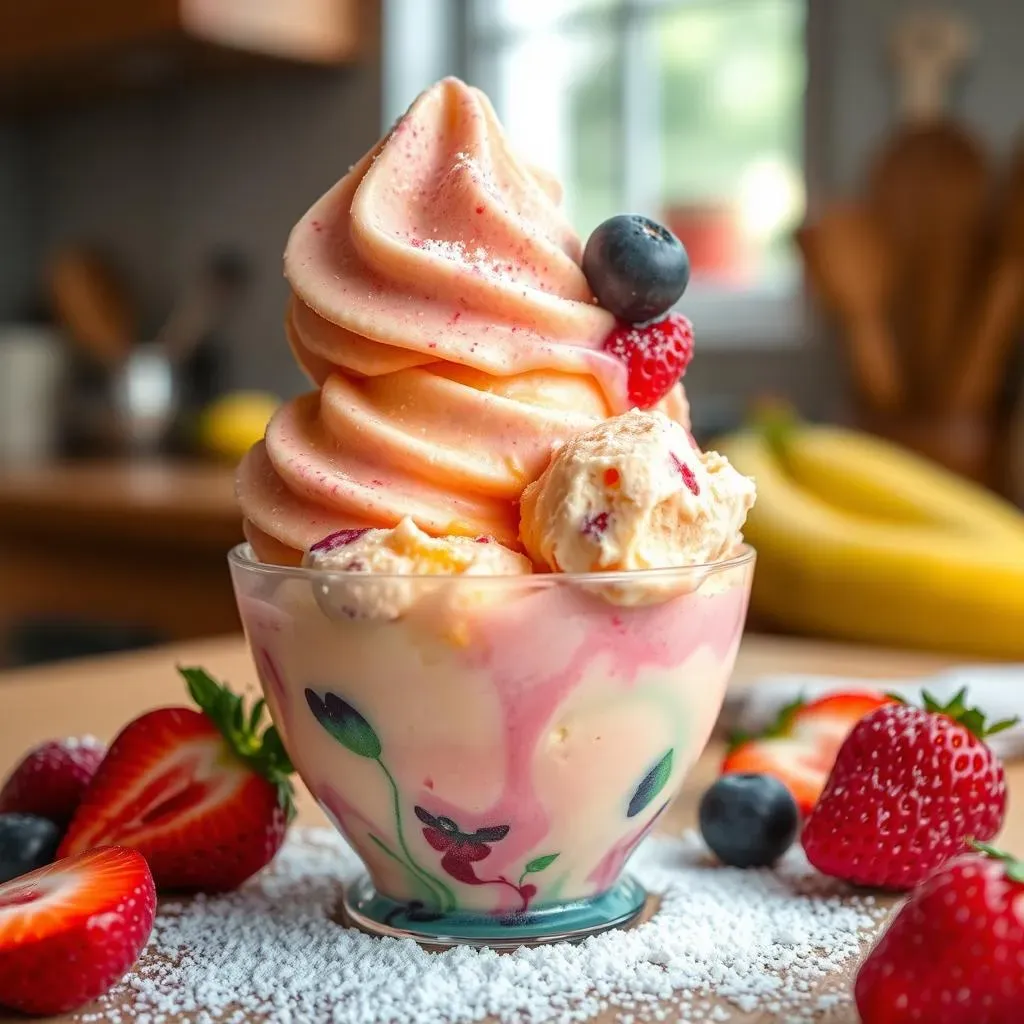
Ever dream of biting into a rich, creamy chocolate ice cream bar, but without the hassle of an ice cream maker? Well, dream no more! I'm about to spill the secrets to making the most decadent homemade ice cream bars you've ever tasted, and guess what? It's ridiculously simple. We’re talking about a no-churn recipe that's so easy, even a kid could whip it up. Forget fancy equipment; all you need are four basic ingredients and a bit of patience while they freeze. I'll walk you through everything, from understanding why no-churn ice cream is so awesome, to choosing the right stuff for your bars, to the step-by-step process of creating these frosty treats and how to get that perfect chocolate coating. Plus, I'll give you the lowdown on how to store them so you can enjoy your homemade ice cream bars anytime. Get ready to ditch the store-bought stuff and become a homemade ice cream bar pro!
What's the Deal with NoChurn Ice Cream?

What's the Deal with NoChurn Ice Cream?
The Magic of Skipping the Machine
Okay, so you're probably thinking, "Ice cream without a machine? Is that even possible?" It totally is, and it's kind of mind-blowing. Traditional ice cream needs a machine to churn the mixture while it freezes. This process breaks up the ice crystals, making it smooth and creamy. But no-churn ice cream? It uses a clever trick: we whip heavy cream to create that airy texture, then fold it into sweetened condensed milk. The heavy cream acts like the churning, trapping air and keeping the ice crystals small, resulting in a soft, scoopable treat. It’s like a magic trick, but with kitchen tools instead of wands.
Why I'm Obsessed with No-Churn
I'm not going to lie, I'm absolutely in love with no-churn ice cream. It's a game-changer. I mean, who wants to deal with bulky, expensive ice cream makers when you can get equally amazing results with just a few ingredients and a bowl? Plus, it's so incredibly versatile. You can add any flavor you like, from chocolate and vanilla to more adventurous options. It's the perfect project for a lazy afternoon, and you get to enjoy delicious, homemade ice cream without any of the fuss. Honestly, once you try it, you'll be hooked. I promise.
No-Churn Ice Cream | Traditional Ice Cream |
|---|---|
No ice cream machine needed | Requires an ice cream machine |
Simple ingredients | Can require more complex ingredients and ratios |
Easy to make at home | Can be more time consuming and complex |
The Science Behind the Softness
It might seem like sorcery, but there is actual science behind it. The reason no-churn works is that the whipped heavy cream provides the air needed for a soft texture. The fat in the cream coats the tiny ice crystals, preventing them from getting too big, which is what makes ice cream icy and hard. Sweetened condensed milk is the base, giving it that sweetness and creamy texture. Combine these two, and you get something that’s as close to traditional ice cream as it gets, without any of the extra equipment. It's like a perfectly balanced equation, resulting in a dessert that's just… *chef's kiss*.
Making Your Homemade Ice Cream Bars: The Ingredient Scoop

Making Your Homemade Ice Cream Bars: The Ingredient Scoop
The Fab Four: What You'll Need
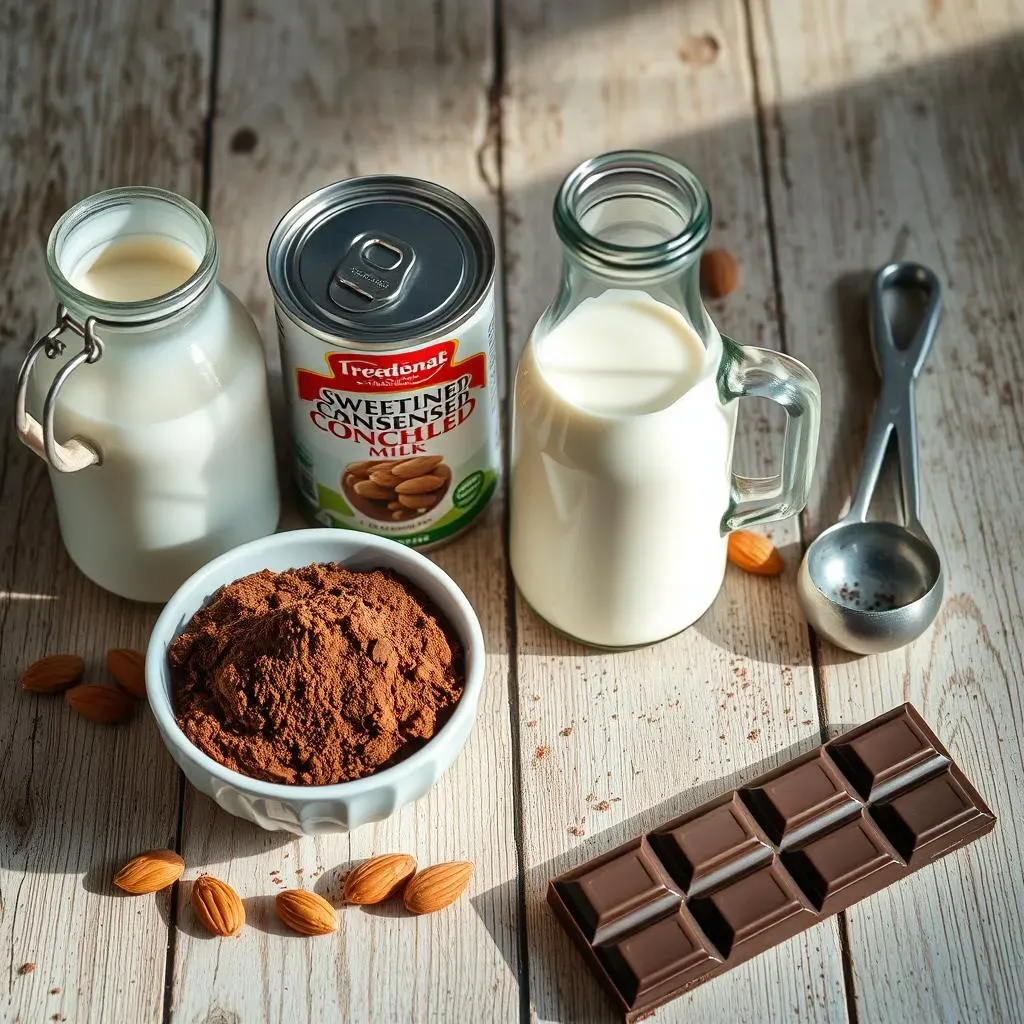
Alright, let's talk ingredients. For these ridiculously good homemade ice cream bars, we're keeping it super simple with just four main players. First, you've got the heavy cream – this is what gives our ice cream that amazing, airy texture. Don't skimp here; you need the real deal, not half-and-half. Next up, sweetened condensed milk. This stuff is like magic in a can, adding sweetness and creamy goodness. Then, we have the star of the show, cocoa powder. Go for a good quality one; it makes all the difference in flavor. And lastly, some chocolate for the coating, because, well, it's chocolate! I like using a mix of milk and dark chocolate for that perfect balance, but you can use whatever you like.
Ingredient Breakdown: Why Each One Matters
Each ingredient in our homemade ice cream bars recipe has a crucial role to play. The heavy cream, as I mentioned, is all about texture. It's the base for that light and fluffy feel. Sweetened condensed milk isn't just sugar; it's a thick, concentrated milk that adds a unique creaminess you can't get with regular sugar. The cocoa powder? It's all about that deep, rich chocolate flavor. And good chocolate for coating is a must, because that's the first thing you taste. It’s like the grand finale of a delicious symphony. I also like to throw in some chopped almonds for some crunch, but it’s optional.
- Heavy Cream: For airy texture.
- Sweetened Condensed Milk: For sweetness and creaminess.
- Cocoa Powder: For rich chocolate flavor.
- Chocolate: For the perfect coating.
A Note on Quality
Listen, I'm not saying you have to use the most expensive stuff, but trust me on this, the quality of your ingredients will make a huge difference. Using a good quality cocoa powder will give you a much deeper, richer chocolate flavor. The same goes for the chocolate you use to coat the bars. If you use something cheap, it's going to taste like it. Go for something you'd actually enjoy eating on its own. It's like building a house, you need good bricks to make it stand. You know?
StepbyStep: Creating Your Frozen Chocolate Masterpieces

StepbyStep: Creating Your Frozen Chocolate Masterpieces
Whipping Up the Magic
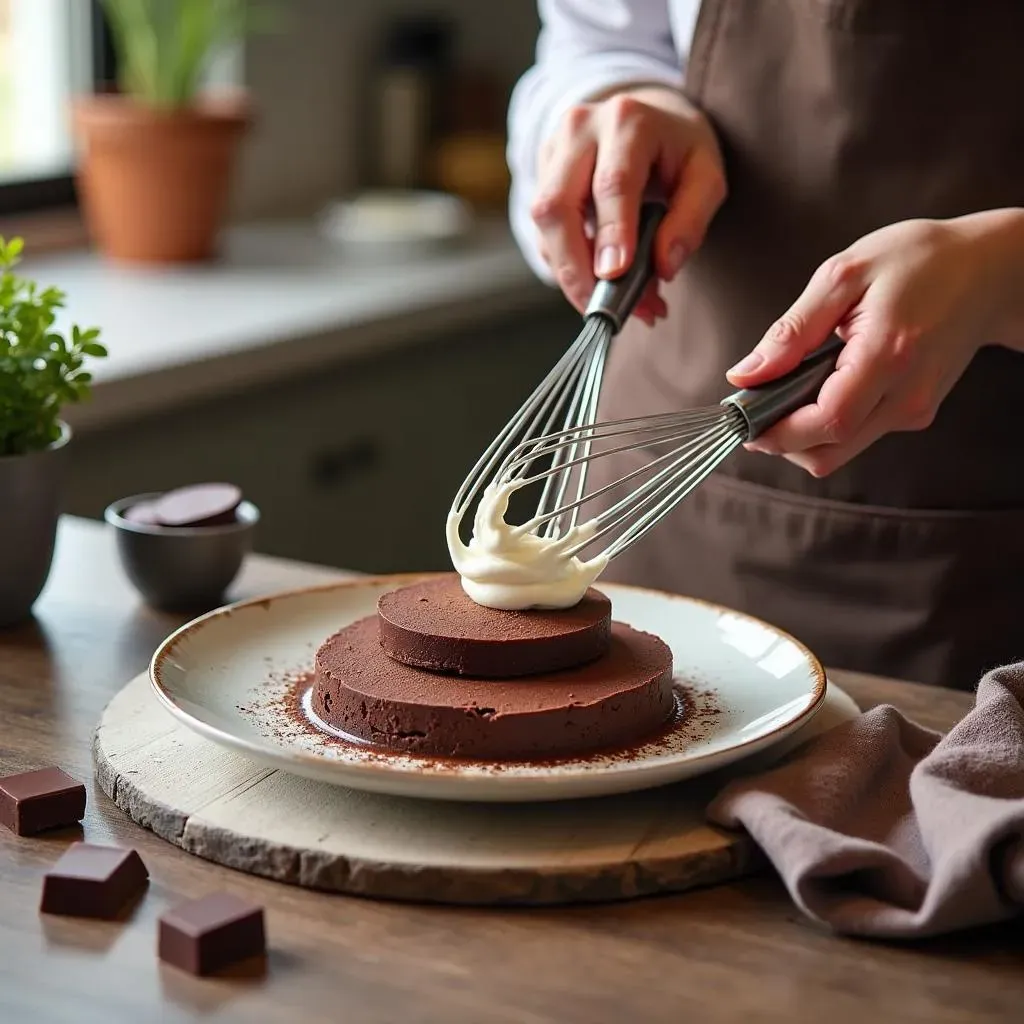
Okay, let's get down to business. First, grab your heavy cream and get ready to whip it like you mean it. You can use a stand mixer, a hand mixer, or even a whisk and some elbow grease. The goal here is to whip the cream until it forms stiff peaks. This means when you lift the whisk, the cream should stand up straight and not flop over. This step is crucial because it's what gives our homemade ice cream bars that light and airy texture. It's like we're infusing the cream with tiny bubbles of deliciousness. Don't rush this part; it's worth the effort.
Combining the Goodness
Once your cream is whipped to perfection, it's time to bring in the other players. Gently fold the sweetened condensed milk and cocoa powder into the whipped cream. Don't stir it like you're mixing paint; we want to keep all that lovely air we just whipped in. Use a spatula and make gentle, sweeping motions, lifting the mixture from the bottom to the top. Keep folding until everything is just combined and you have a smooth, chocolatey mixture. It should look like a fluffy, chocolate cloud. If you're adding almonds, now's the time to gently fold them in too.
Step | Action | Tip |
|---|---|---|
1 | Whip heavy cream to stiff peaks. | Don't over whip! |
2 | Fold in sweetened condensed milk and cocoa powder. | Be gentle to keep the mixture airy. |
3 | Pour into a pan and freeze. | Freeze for at least 6 hours. |
Freezing and Forming
Now, for the patience part. Pour your chocolate mixture into a baking pan lined with parchment paper. This will make it easier to remove later. Spread the mixture evenly, and pop it in the freezer. You'll need to freeze for at least 6 hours, but overnight is even better. This will ensure that your homemade ice cream bars are completely solid. Once frozen, take the pan out, cut your ice cream into bars, and now you're ready for the chocolate coating. You're almost there, and the best part is just around the corner.
Chocolate Coating and Storage Secrets for Perfect Homemade Ice Cream Bars

Chocolate Coating and Storage Secrets for Perfect Homemade Ice Cream Bars
The Art of the Chocolate Dip
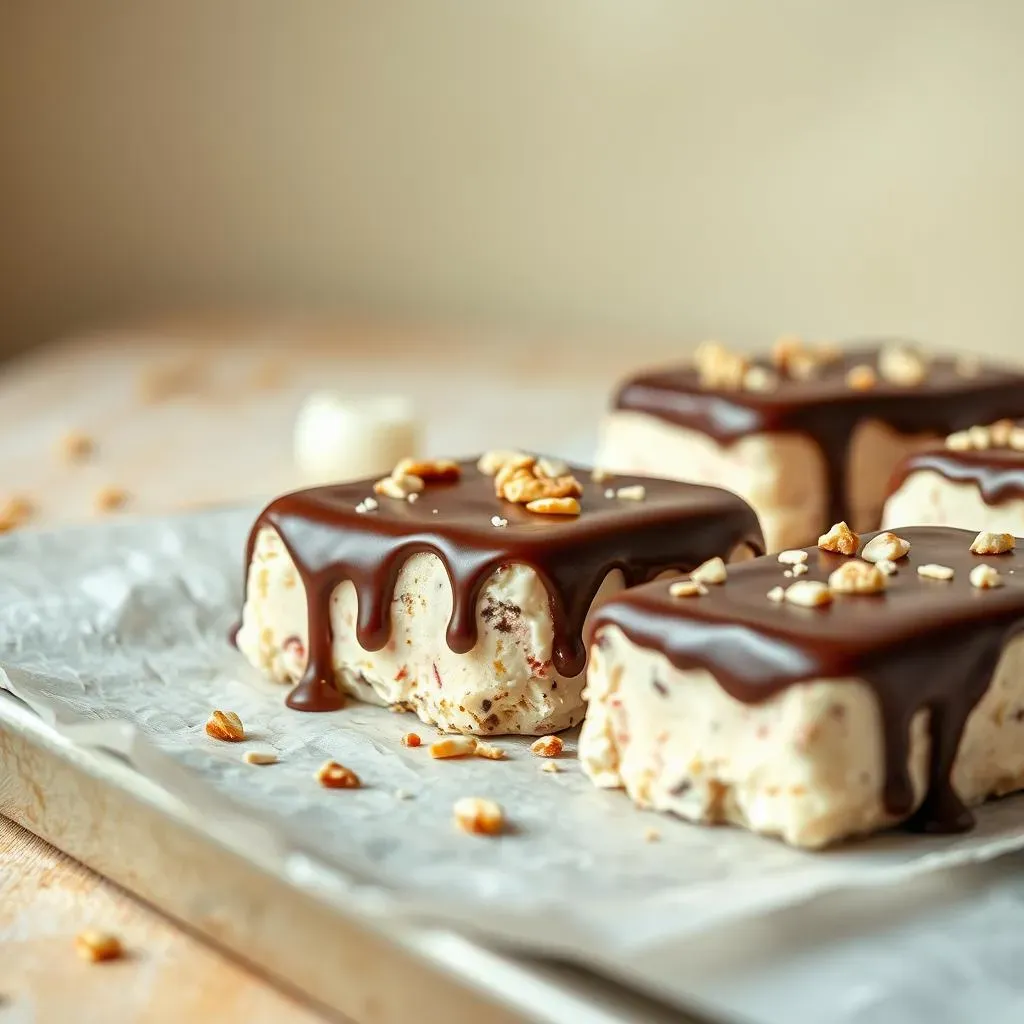
Alright, now for the fun part: the chocolate coating! This is where your homemade ice cream bars really come to life. Melt your chocolate in the microwave, using short intervals and stirring in between to avoid burning it. You can add a touch of coconut oil to make it smoother and easier to work with. Once melted, it’s time to dip. Take your frozen ice cream bars and quickly dunk them into the melted chocolate, making sure they're fully coated. Let any excess chocolate drip off, and then place them on a parchment-lined tray. The cold from the ice cream will set the chocolate pretty fast, so work quickly. If you want to get fancy, sprinkle some chopped nuts on top before the chocolate sets.
Quick Tips for a Smooth Coating
Getting that perfect chocolate coating isn't rocket science, but there are a few tricks to make it easier. First, make sure your ice cream bars are super frozen. If they're too soft, the chocolate will melt too quickly and you'll end up with a messy situation. Second, don't overheat your chocolate. Burnt chocolate is sad chocolate. Use low power in your microwave and stir often. Third, work quickly! The faster you dip and get the bars back on the tray, the smoother the coating will be. And lastly, don't be afraid to get messy! It’s all part of the fun when you're making homemade ice cream bars.
Coating Tip | Why It Matters |
|---|---|
Super Frozen Bars | Prevents chocolate from melting too fast |
Melt Chocolate Gently | Avoids burning the chocolate |
Work Quickly | Ensures a smooth, even coating |
Storing Your Frozen Treasures
Now that your homemade ice cream bars are all coated and beautiful, it's time to think about storage. Once the chocolate is completely set, you can wrap each bar individually in plastic wrap or parchment paper. Then, place them in an airtight container and pop them back in the freezer. They’ll stay good for a couple of weeks, but let's be real, they probably won't last that long. If you've added any toppings like nuts, be aware that they may lose some of their crunch over time. But honestly, a slightly softened almond on a chocolate-covered ice cream bar? Still delicious. I’m telling you, there’s nothing better than a homemade ice cream bar.