Table of Contents
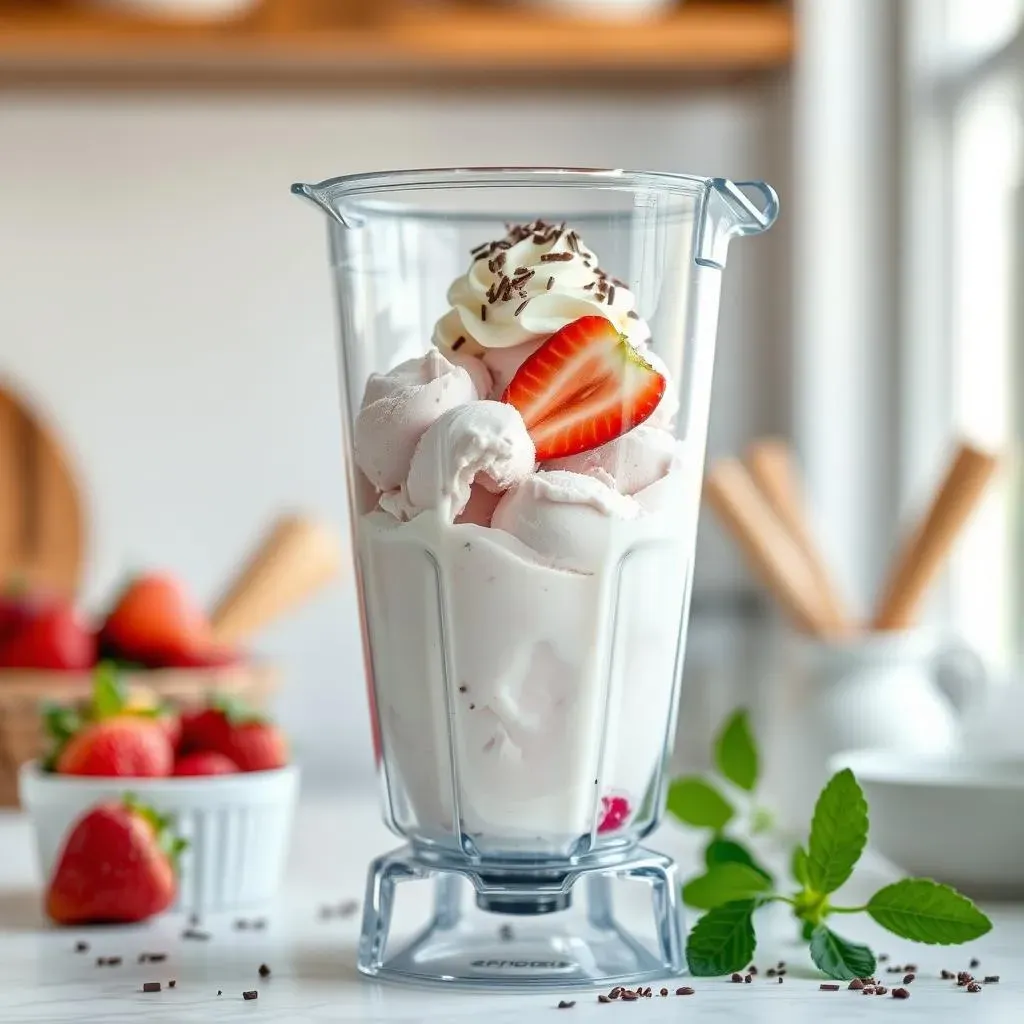
Craving a scoop of delicious, homemade ice cream but don't own a fancy ice cream maker? No problem! You can absolutely whip up creamy, dreamy ice cream right in your kitchen using just your blender. Forget complicated machines and long waits; with a few simple steps, you'll be enjoying frozen goodness in no time. This article will guide you through the process of making fantastic homemade ice cream blender creations, answering all your burning questions along the way. We'll explore the basics, like how to prepare your ice cream base and turn it into frozen cubes, and then show you how to blend it all to perfection. We'll also cover some fun variations, flavor ideas, and some common hiccups you might face and how to fix them. So, get ready to ditch store-bought pints, grab your blender, and let's make some magic happen!
Common Questions About Homemade Ice Cream Blenders

Common Questions About Homemade Ice Cream Blenders
Can Any Blender Make Ice Cream?
That's the first question everyone asks, right? Can any old blender just magically turn into an ice cream machine? Well, the short answer is, kind of. While a super high-powered blender will definitely make things easier and smoother, you can still make ice cream with a regular blender. It might just take a little more patience and some extra blending time. The key is making sure your frozen base is in small enough pieces and not too icy, otherwise, you could end up with a chunky milkshake instead of smooth ice cream.
Think of it like this: a fancy sports car will get you to your destination faster, but a regular car will still get you there, just maybe with a few more stops along the way. The same applies to blenders. A high-powered machine will pulverize those frozen cubes in seconds, but a standard blender can still do the job, it may just require some more love and attention. The most important thing is to make sure your blender is up to the challenge of crushing ice and frozen ingredients. If it’s not, you might want to consider a more powerful blender or maybe just enjoy a smoothie instead.
What Kind of Ingredients Work Best?
Okay, now that we've established that you *can* use a blender, let's talk ingredients. The base of your ice cream is crucial. You can use traditional dairy options like whole milk, heavy cream, and even condensed milk for a richer flavor. But, if you're like me and prefer something dairy-free, options like coconut milk, almond milk, or oat milk work wonderfully! The key is to choose ingredients that will create a creamy texture when frozen and blended. For example, full-fat coconut milk will give you a much richer consistency than low-fat almond milk.
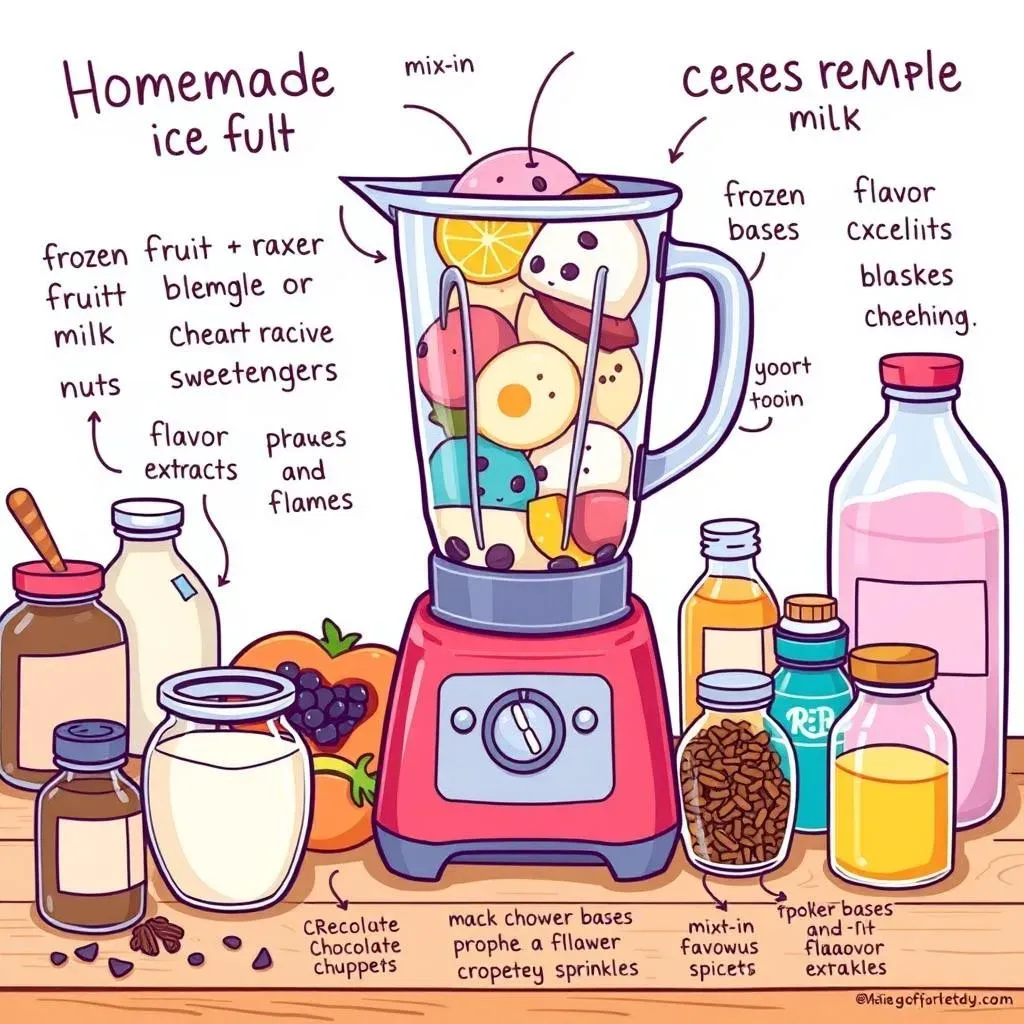
Don't forget about the sweeteners and flavorings! Sugar, maple syrup, honey, they all work. Vanilla extract is always a classic, but you can also get creative with things like cocoa powder, fruit purees, or even a pinch of salt to enhance the flavor. Think of your ice cream as a blank canvas, ready for you to add your favorite flavors. It's all about experimentation. You'll find what you like, I promise. And trust me, once you've made your own flavor, store-bought ice cream will never taste the same.
Question | Answer |
|---|---|
Can I use a regular blender? | Yes, but a high-powered one is better. |
Dairy or non-dairy? | Both work great! Choose what you like. |
What about sweeteners? | Sugar, maple syrup, honey, all good options. |
Making Ice Cream with Your Blender: StepbyStep

Making Ice Cream with Your Blender: StepbyStep
Prep Your Base and Freeze
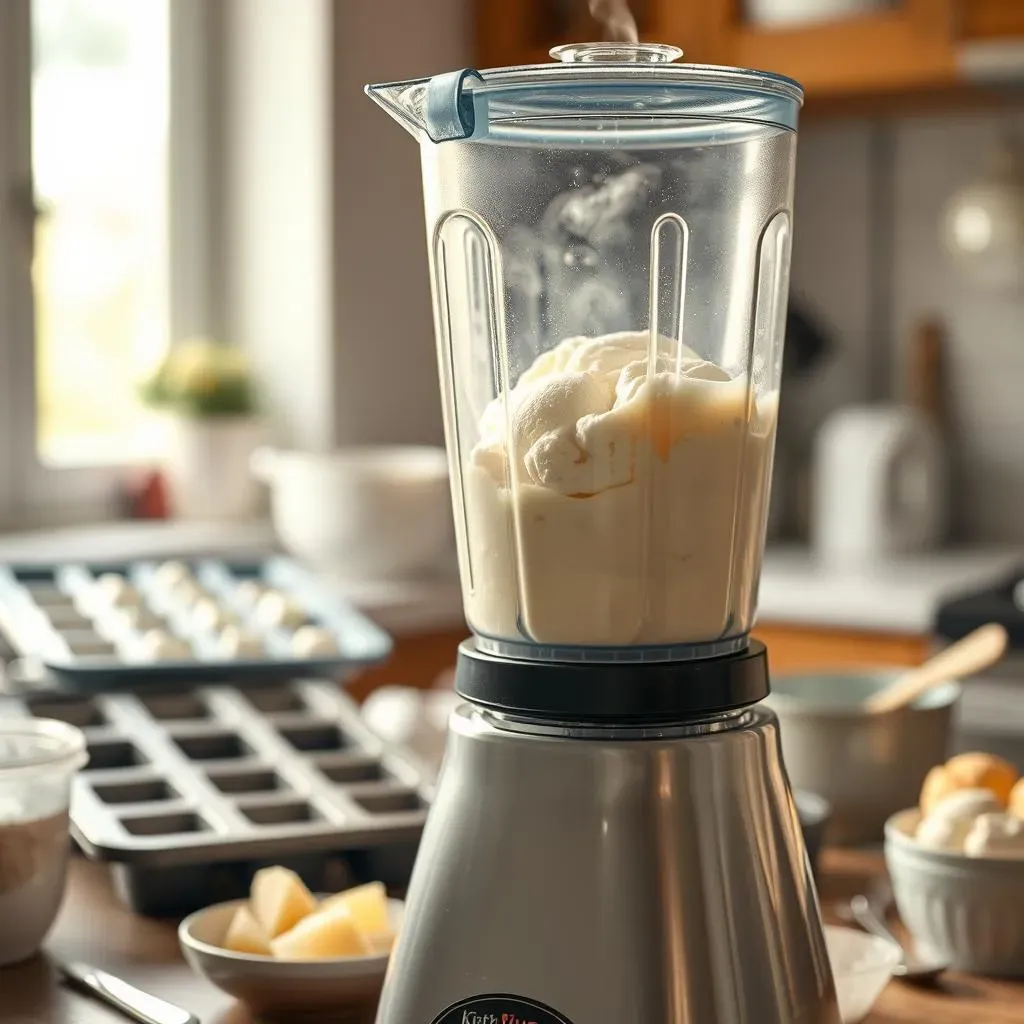
Alright, let's get to the fun part! First, you need to make your ice cream base. This is where you mix all your liquid ingredients, sweeteners, and flavorings. Once you've got your mixture ready, pour it into an ice cube tray. Yes, you read that right, an ice cube tray! This is the secret to making ice cream in a blender. The small cubes will freeze much faster and more evenly than a big block of liquid. Pop that tray into the freezer and wait until the cubes are completely frozen solid, usually about 6 hours or even better, overnight. Patience is key here, you don't want any slushy bits or it wont work.
It's like preparing for a big race, you wouldn't just show up and expect to win, right? You need to train and prepare. Freezing your base into cubes is your training session for the blender. This step is crucial for that smooth, creamy texture we're aiming for. Think of it as building the foundation for your ice cream masterpiece. Don't skimp on the freeze time, trust me, your patience will be rewarded with deliciousness.
Blend it Up!
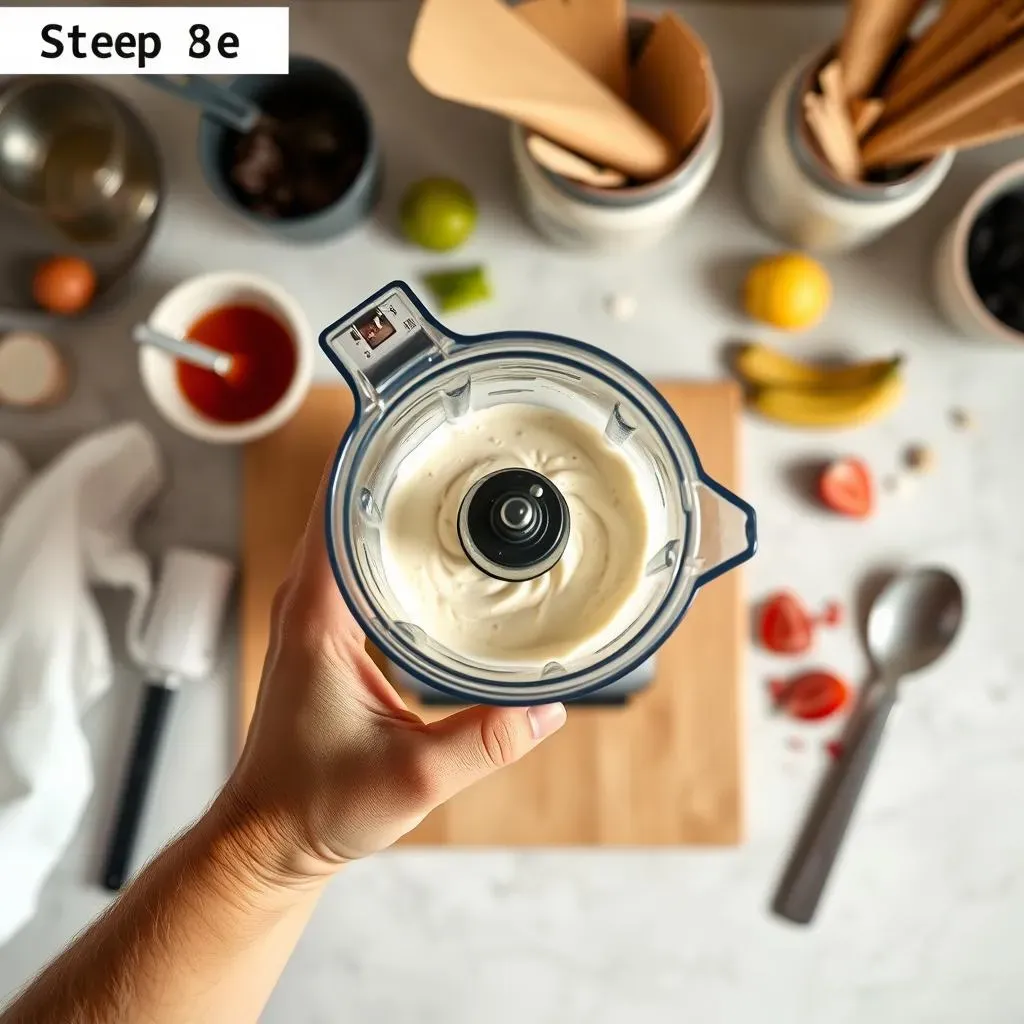
Now for the magic! Once your ice cream cubes are rock solid, take them out of the freezer and pop them into your blender. It's best to work in batches so you don't overload your blender. Start by pulsing a few times to break up the cubes, then blend until everything is smooth and creamy. You might need to stop and scrape down the sides a few times to get all the bits incorporated. If it's too thick, add a splash of plant-based milk to help it along. You'll know it's ready when it has a soft-serve consistency.
Think of it like a dance, you need to find the rhythm. The pulsing is like a gentle warm-up, and then the steady blending is where you get into the groove. It might take a few tries to get the hang of it, but once you do, you'll be blending up ice cream like a pro. Don't be afraid to experiment with different speeds and techniques. And remember, patience is a virtue; you might need to stop and scrape the sides a few times to ensure a consistent texture.
Step | Action |
|---|---|
1 | Prepare ice cream base |
2 | Freeze base in ice cube tray |
3 | Blend frozen cubes |
4 | Add liquid if needed |
Final Freeze (Optional)
If you want a firmer, more scoopable ice cream, you can transfer your blended mixture to a loaf pan or freezer-friendly container and freeze it for another couple of hours. This will give it that classic, hard ice cream texture we all know and love. It's like giving your ice cream a final polish before it's ready to be served. It's not mandatory, but it certainly does add a touch of elegance. Think of it as the final touch on your culinary masterpiece, the cherry on top, if you will.
This step is totally optional, but I highly recommend it if you're aiming for a more traditional ice cream experience. It's like letting a good wine breathe, it just gets better with a little extra time. And let’s be honest, who doesn't love scooping out a perfect ball of ice cream? So, if you've got the time, give it a try. You won't be disappointed.
Homemade Ice Cream Blender: Recipe Notes and Variations

Homemade Ice Cream Blender: Recipe Notes and Variations
Mix-in Madness
Okay, so you've got the basic ice cream down, but what about taking it to the next level? This is where the fun really begins! The world of mix-ins is your oyster. Think chopped nuts, chocolate chips, chunks of your favorite candy bar, or even a swirl of peanut butter. You can add these after you blend the ice cream or fold them in gently before the final freeze. I personally love adding some toasted pecans and a drizzle of caramel to my vanilla base, it's like a party in my mouth. Don't be shy, experiment with different combinations, you might just discover your new favorite flavor.
Consider this your chance to be a culinary artist. You're not just making ice cream, you're creating an experience. Get creative with your mix-ins, think about textures and flavors that complement each other. For example, if you're making a fruity ice cream, consider adding some fresh berries or a swirl of jam. If you're going for a chocolate flavor, think about adding some brownie chunks or a chocolate sauce. The possibilities are truly endless, so go wild and have some fun with it!
Flavor Twists
Let's talk about flavors beyond basic vanilla. You can use extracts, spices, or even fruit purees to create a whole spectrum of tastes. For a coffee ice cream, simply add some strong brewed coffee or espresso to your base. A little bit of cinnamon or nutmeg can give your ice cream a warm, cozy feel. If you're feeling adventurous, try adding some fresh herbs like mint or basil for a unique twist. The key is to experiment and find flavors that you absolutely love. It's like being a mad scientist in your kitchen, but instead of creating monsters, you're creating delicious ice cream.
I encourage you to think outside the box when it comes to flavors. Don't be afraid to try unconventional combinations. For instance, a lavender honey ice cream might sound a little strange, but it can be incredibly delicious. Or how about a spicy mango ice cream with a hint of chili? The point is, there are no rules when it comes to making your own homemade ice cream. This is your chance to explore your culinary creativity and discover new taste sensations. So, go ahead, unleash your inner flavor wizard!
Flavor Base | Mix-in Ideas | Flavor Twist Ideas |
|---|---|---|
Vanilla | Chocolate chips, nuts, caramel | Coffee, cinnamon, maple syrup |
Chocolate | Brownie chunks, peanut butter, marshmallows | Mint, chili, orange zest |
Fruit | Fresh berries, jam, coconut flakes | Lavender, basil, ginger |
Vegan Variations
For those of us who are plant-based, or just trying to cut back on dairy, making vegan ice cream in a blender is totally doable! The key is to use a creamy non-dairy milk like full-fat coconut milk or cashew milk. You can also use a base of frozen bananas, which adds natural sweetness and a smooth texture. There are tons of vegan recipes online, so you can find a combination that you love. You don't have to sacrifice flavor or texture just because you're going dairy-free. In fact, some of my favorite ice cream flavors are vegan.
Consider this your chance to explore the world of plant-based desserts. You might discover that you actually prefer the taste of coconut milk ice cream over traditional dairy versions. And the best part is, you can use all the same mix-ins and flavor variations we talked about earlier. The possibilities are endless, so go ahead and experiment. Who knows, you might even convert some of your non-vegan friends to the plant-based side.
Troubleshooting Your Homemade Ice Cream Blender

Troubleshooting Your Homemade Ice Cream Blender
My Ice Cream is Too Icy
Okay, so you’ve blended your frozen cubes, but instead of creamy ice cream, you've got a bunch of icy shards. Bummer, right? This usually happens when your base wasn't frozen solid enough, or if your blender struggled to break down the ice. First thing, make sure those cubes are rock hard before you toss them in the blender. If they're even a little bit slushy, you're going to end up with icy bits. Also, try pulsing the cubes a few times before blending continuously. This helps break them down gradually and prevents your blender from getting overwhelmed. And, if all else fails, a splash of cold plant-based milk can help smooth things out. It’s like trying to fix a puzzle, sometimes you just need to rotate a few pieces to make it fit perfectly.
Think of it like this: your ice cream is a delicate ecosystem. If the temperature isn't just right, it's going to throw everything off balance. If you find your ice cream is too icy, don't panic. It's a common issue and easily fixed. Just remember, the key is to make sure your base is completely frozen before blending, and if needed, add a little liquid to help create that smooth and creamy texture. It’s all part of the learning process, and every batch is a chance to get a little bit better.
My Blender is Overheating
Oh no, is your blender starting to smell like it's about to give up the ghost? If your blender is overheating, that's a sign you're working it too hard. This usually happens when the frozen cubes are too big or you're trying to blend too much at once. It's like trying to carry too many groceries at once, eventually you're going to drop something. So, work in smaller batches and give your blender a breather between pulses. You can also try adding a bit of liquid to help it blend more easily. If you notice your blender is consistently overheating, you might need to consider a more powerful model or just stick to smaller batches. You don't want to burn out your trusty kitchen companion.
Think of your blender as a hardworking friend, it needs some TLC too. Overloading it with frozen cubes is like asking it to run a marathon without any training. So, be kind to your blender, work in smaller batches, and give it a chance to cool down. And remember, if your blender is consistently struggling, it might be time to upgrade to a more heavy-duty model. It’s like getting a better pair of shoes for running, sometimes you just need the right tool for the job.
Problem | Solution |
|---|---|
Icy Ice Cream | Ensure base is fully frozen, pulse before blending, add liquid |
Overheating Blender | Work in smaller batches, add liquid, give it breaks |
Uneven Texture | Scrape sides, blend longer, add liquid if needed |
My Ice Cream is Too Soft or Uneven
So, you've managed to avoid the icy bits and the blender meltdown, but your ice cream is either too soft or the texture is all over the place. This usually means you didn't blend it long enough, or maybe you didn't scrape the sides of your blender often enough. It's like painting a wall, if you don't cover all the spots, you'll end up with an uneven finish. So, make sure you blend until everything is smooth and creamy, and don't be afraid to stop and scrape down the sides a few times to get all those bits incorporated. If it's still too soft, you can always pop it in the freezer for a bit to firm up. It's all about finding that perfect balance between soft and scoopable.
Think of it like sculpting a piece of clay, you need to work it until it has the right shape and texture. If your ice cream is too soft or uneven, don't worry, it's easily fixable. Just remember to blend until smooth, scrape down the sides of your blender, and don't be afraid to give it a little extra time in the freezer. It’s all part of the process, and the more you experiment, the better you’ll get at creating the perfect homemade ice cream.