Table of Contents
Ever geared up to make homemade ice cream, only to find you're out of rock salt? It's a classic kitchen conundrum, right up there with misplacing the can opener. But don't let that stop your frozen dessert dreams. This article is your guide to navigating the world of "ice cream salt substitute." We'll explore why rock salt is usually the go-to, and then, more importantly, what you can use instead. From common table salt to fancier options like kosher and sea salt, we'll break down what works, what doesn't, and how to use them correctly. We'll also tackle common problems you might encounter when using substitutes, because let's face it, things don't always go as planned in the kitchen. So, if you're ready to make delicious ice cream without a trip to the store, keep reading – your taste buds will thank you.
The Science Behind Salt in Homemade Ice Cream: Why Rock Salt?

The Science Behind Salt in Homemade Ice Cream: Why Rock Salt?
The Freezing Point Fiasco
Okay, so you're probably thinking, "Salt in ice cream? Isn't that, like, the opposite of what we want?" Well, yes and no. It's not going into the ice cream mix, it's going around it. The magic of homemade ice cream relies on lowering the freezing point of water. Pure water freezes at 32°F (0°C), but when you add salt, that temperature drops. This is because the salt interferes with the water molecules' ability to form ice crystals. This super-chilled salty water then pulls heat away from your ice cream mixture, causing it to freeze. It’s like a tiny, icy battle, and the salt is the secret weapon.
Rock salt, specifically, is often used because it's cheap and comes in large, coarse crystals. These bigger crystals melt slower than finer salts, meaning they provide a longer-lasting cooling effect. Think of it like this: a big block of ice takes longer to melt than a bunch of ice cubes. The same idea applies to salt. Plus, it’s less processed than table salt, which means it contains fewer additives that could potentially mess with your freezing process. It's like using a sturdy, reliable tool for a job, rather than a flimsy one.
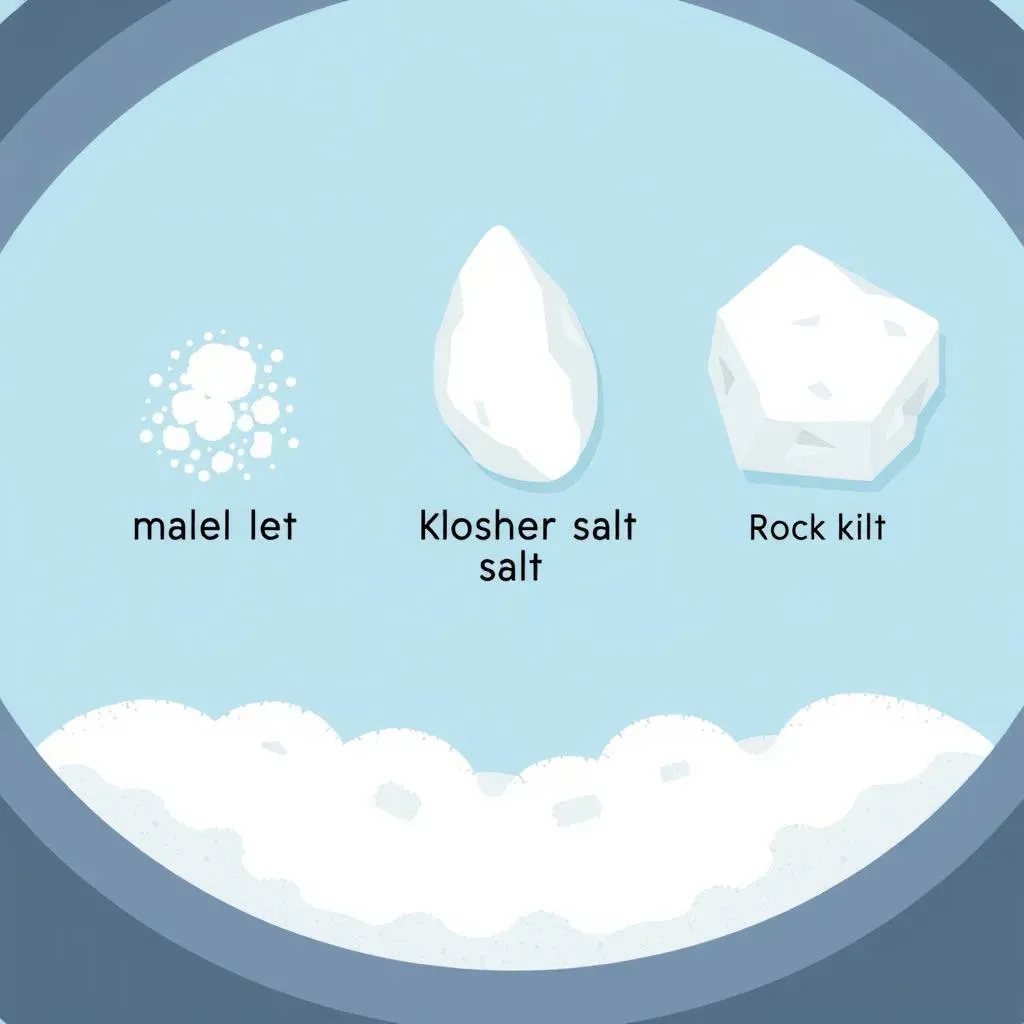
Salt Type | Crystal Size | Melting Speed | Best Use |
|---|---|---|---|
Rock Salt | Large, Coarse | Slower | Ice Cream Making |
Table Salt | Fine | Faster | Substitute in a Pinch |
Kosher Salt | Medium, Flaky | Moderate | Good Substitute |
A Salty Solution to a Sweet Problem
So, why not just use ice alone? Because it's not cold enough! Ice alone will only get you to 32°F (0°C), which is not cold enough to freeze the ice cream base into the creamy dessert we all crave. The salt lowers the temperature of the ice bath significantly, often down to 10-15°F (-12 to -9°C), creating a much more efficient freezing environment. This is why you see people using ice cream makers with a bucket full of ice and salt. It's not just for show; it's pure science in action. Without the salt, you’d just have a sad, watery mess instead of delicious ice cream.
Now, imagine you're building a snowman. You need very cold, almost freezing temperatures for the snow to stick together. The salt in ice cream making works similarly, creating the cold environment needed for your ice cream to solidify into a scoopable treat. It’s a bit like having a tiny portable freezer right in your kitchen, all thanks to the magic of salt. It's a simple ingredient, but it plays a huge role in making the ice cream experience possible.
Best Ice Cream Salt Substitute: Table Salt, Kosher, and More

Best Ice Cream Salt Substitute: Table Salt, Kosher, and More
Table Salt: The Everyday Hero
Okay, so you're staring into your pantry, no rock salt in sight? Don’t panic. Regular table salt is actually a pretty decent substitute. It's not ideal, mind you, but it'll get the job done in a pinch. The main difference is the crystal size. Table salt is much finer than rock salt, which means it dissolves faster. This can lead to a quicker melting of the ice in your ice cream maker, and you might find yourself needing to add more ice and salt to maintain the cold temperature. It's like using a smaller engine: it'll work, but you might need to push it a little harder. And let's be honest, nobody wants to be stuck refilling ice while trying to make ice cream.
The good news is that almost everyone has table salt readily available. It’s the workhorse of the salt world, always there when you need it. So, if you’re in a bind, go ahead and use it. Just keep an eye on that ice bath and be prepared to replenish the ice and salt more frequently than you would with rock salt. Think of it as a slightly more high-maintenance option, but hey, sometimes you gotta work with what you’ve got.
Kosher Salt: The Flaky Contender
Now, let's talk about kosher salt. It's a popular choice in cooking for good reason, and it turns out it's a solid contender in the ice cream-making arena too. Kosher salt has a larger, flakier crystal structure compared to table salt. This means it dissolves a bit slower, closer to how rock salt behaves. It’s like the middle child of salts – not too fine, not too coarse, just right. This slower dissolving rate can help keep your ice bath colder for longer, giving your ice cream a better chance of freezing properly. Plus, it’s less likely to have any additives that could mess with the freezing process.
If you've got some kosher salt in your kitchen, you’re in luck. It’s a step up from table salt, and it's a great substitute if you don't have rock salt on hand. It's similar to using a more reliable tool that gets the job done without a lot of fuss. Just like table salt, remember to add more if the ice is melting too quickly. You want that ice cream to freeze, not just get cold. It’s all about finding the right balance and keeping that icy environment consistent.
Salt Type | Crystal Size | Dissolving Rate | Suitability for Ice Cream |
|---|---|---|---|
Table Salt | Fine | Fast | Good Substitute in a Pinch |
Kosher Salt | Medium, Flaky | Moderate | Better Substitute |
Rock Salt | Large, Coarse | Slow | Best Option |
Other Salts: Sea Salt and Beyond
What about other types of salt? Sea salt, for example, can be used, but it's usually more expensive than table or kosher salt and doesn't offer any real advantage for ice cream making. It might have a nice flavor, but we're not actually putting it in the ice cream itself, so that doesn't matter here. It’s like using a fancy pen to write a grocery list – it'll work, but it’s a bit overkill. Himalayan pink salt? Again, it'll work, but there's no real reason to use it over the more common options. It's mostly for aesthetics and doesn't contribute anything extra to the freezing process. So, while you can use these other salts, they're not the best choice for an "ice cream salt substitute" unless you are out of other choices.
The key takeaway here is that when it comes to making ice cream, it's all about the salt's ability to lower the freezing point of the ice. Table and kosher salt work just fine, and they're a better alternative than running to the store. Don't get too caught up in the fancy salts when you're making ice cream. Save those for topping your gourmet meals. For this task, the most basic salts are often the most effective and economical. It’s all about keeping things simple and getting that ice cream frozen.
How to Use Ice Cream Salt Substitute: Tips for Success

How to Use Ice Cream Salt Substitute: Tips for Success
The Right Ratio: Salt to Ice
Okay, so you've got your salt substitute ready, but how much do you actually use? It's not an exact science, but a good starting point is a ratio of about 1 cup of salt for every 4 cups of ice. This is just a general guideline, though. You might need to adjust it a bit depending on the type of salt you're using and the size of your ice chunks. If you're using table salt, which dissolves faster, you might need to use a bit more salt to get the same cooling effect as you would with rock salt. It's all about finding that sweet spot where the ice melts slowly enough to effectively freeze your ice cream but not so slowly that you're waiting all day. Think of it like tuning an instrument; you tweak it until it sounds just right.
Also, don't just dump all the salt in at once. It's better to add it gradually, mixing it with the ice to ensure even distribution. This helps create a more consistent freezing environment. If you dump it all in one spot, you might end up with some areas of the ice bath being colder than others, which is not ideal for even freezing. It’s like making sure the heat is distributed evenly when you’re baking. You want that even freeze, so take your time and mix well.
- Start with a 1:4 ratio of salt to ice.
- Add salt gradually, mixing well.
- Adjust as needed based on salt type.
Maintaining the Cold: Ice and Salt Management
The key to successful homemade ice cream isn't just about the initial setup, it's about maintaining the cold. As the ice melts, the salt water becomes less effective at lowering the freezing point. This means you'll need to keep an eye on your ice bath and replenish it with both ice and salt as needed. It's a bit like tending a campfire; you need to keep feeding it with fuel to keep it burning brightly. If you let the ice melt too much, your ice cream won't freeze properly, and you'll end up with a soupy mess. And nobody wants that.
A good rule of thumb is to check the ice bath every 10-15 minutes. If you notice a lot of melted water, it’s time to add more ice and salt. You can also add a bit more salt if you feel the ice is melting too quickly. This is where having a good supply of ice on hand really pays off. It’s like having extra ingredients prepared when you’re cooking a complicated dish. It’s all about being ready and responsive to the needs of your ice cream-making process.
Pre-Chill Your Ingredients: A Pro Tip
Before you even start churning, make sure your ice cream base is thoroughly chilled. This is a game-changer, seriously. Putting a warm mixture into the ice cream maker means that it will take much longer to freeze, and you'll end up using a lot more ice and salt in the process. It’s like starting a race with a head start; you're already halfway there. Chilling your base for at least a few hours, or even better, overnight, will give you a much better chance of success. It's a simple step that can make a huge difference in the final product.
Think about it: if your ice cream base is already cold, the salt and ice don't have to work as hard to get it to freezing temperatures. It's like giving your freezer a little helping hand. And while you’re at it, why not chill your ice cream maker's container too? This can also help speed up the freezing process. It's all about setting yourself up for success. Every little bit helps, and a little pre-planning can save you a lot of hassle and disappointment.
Troubleshooting Ice Cream Making with Salt Substitutes

Troubleshooting Ice Cream Making with Salt Substitutes
Why Isn't My Ice Cream Freezing?
So, you've followed all the steps, you've got your salt substitute in the ice bath, and yet... your ice cream is still a soupy mess. What gives? The most common culprit is that the ice bath isn't cold enough. This could be because you didn't use enough salt, the ice is melting too quickly, or the ice cream base wasn't cold enough to begin with. It's like trying to start a fire with damp wood; it just won't catch. Double-check your salt-to-ice ratio, make sure you're using enough salt for the type you've chosen, and consider adding more ice to the mixture. It’s all about creating the correct environment for freezing, and sometimes you just need to tweak the conditions to get it right.
Another thing to consider is the type of ice you are using. Smaller ice cubes melt faster than larger chunks. If you are using small ice cubes, you may need to add more salt more frequently. The goal is to maintain a consistent, cold temperature. If you see the ice melting quickly and the water level rising, it's a sign that you need to add more ice and salt. It’s like tending to a garden; you need to pay attention to the conditions and make adjustments as needed. Don't get discouraged, just keep trying and you'll get the hang of it.
The Case of the Icy Ice Cream
Okay, so your ice cream did freeze, but now it's got a bunch of annoying ice crystals? That's another common issue. This often happens when the ice cream freezes too slowly, allowing large ice crystals to form. This can be due to not having enough salt in your ice bath, or not maintaining the cold environment consistently. It’s like trying to make a smooth cake with lumpy batter; the result won’t be ideal. The key is to ensure that the ice cream freezes quickly and evenly. Make sure you’re using enough salt to get the ice bath cold enough, and that you're replenishing the ice and salt as needed.
Another potential cause for icy ice cream is too much water in the mix. If the ice cream base wasn't properly chilled before you started, it may have taken too long to freeze and caused ice crystals to form. Also, make sure your ice cream maker container is properly frozen if your model requires it. It’s like trying to paint a wall that’s still wet; the paint won't adhere properly. Always double-check all your steps and make sure everything is cold and ready to go. It's all about setting yourself up for success and following the right process.
Problem | Possible Cause | Solution |
|---|---|---|
Ice cream not freezing | Not enough salt, ice melting too fast, base not cold enough | Add more salt, replenish ice, pre-chill base |
Icy Ice Cream | Slow freezing, too much water, not enough salt | Maintain cold bath, pre-chill base, add more salt |
When All Else Fails: Troubleshooting Tips
Sometimes, despite your best efforts, things just don't go as planned. If you're still having trouble, here are a few extra tips. First, make sure your ice cream maker isn't overfilled. Overfilling can prevent proper freezing and result in a messy situation. It's like trying to cram too many clothes in a suitcase; it just won’t close properly. Also, if you are using a hand-crank ice cream maker, make sure you are cranking it at a steady pace. Consistent churning is essential for even freezing. If you are using an electric ice cream maker, make sure it’s working properly and that the motor isn’t overheating. It's all about making sure everything is working in harmony.
And last, don't be afraid to experiment. The world of homemade ice cream is full of little quirks, and sometimes you just need to try different things to find what works best for you. Maybe try a different salt ratio, a different ice type, or even a different ice cream recipe. It’s all part of the fun. If you do end up with a soupy or icy mess, remember you can always put it in the freezer in a container and let it freeze completely. It’s like a second chance at success. Don't be discouraged by a few bumps in the road. Keep experimenting, keep learning, and most importantly, keep making ice cream!