Table of Contents
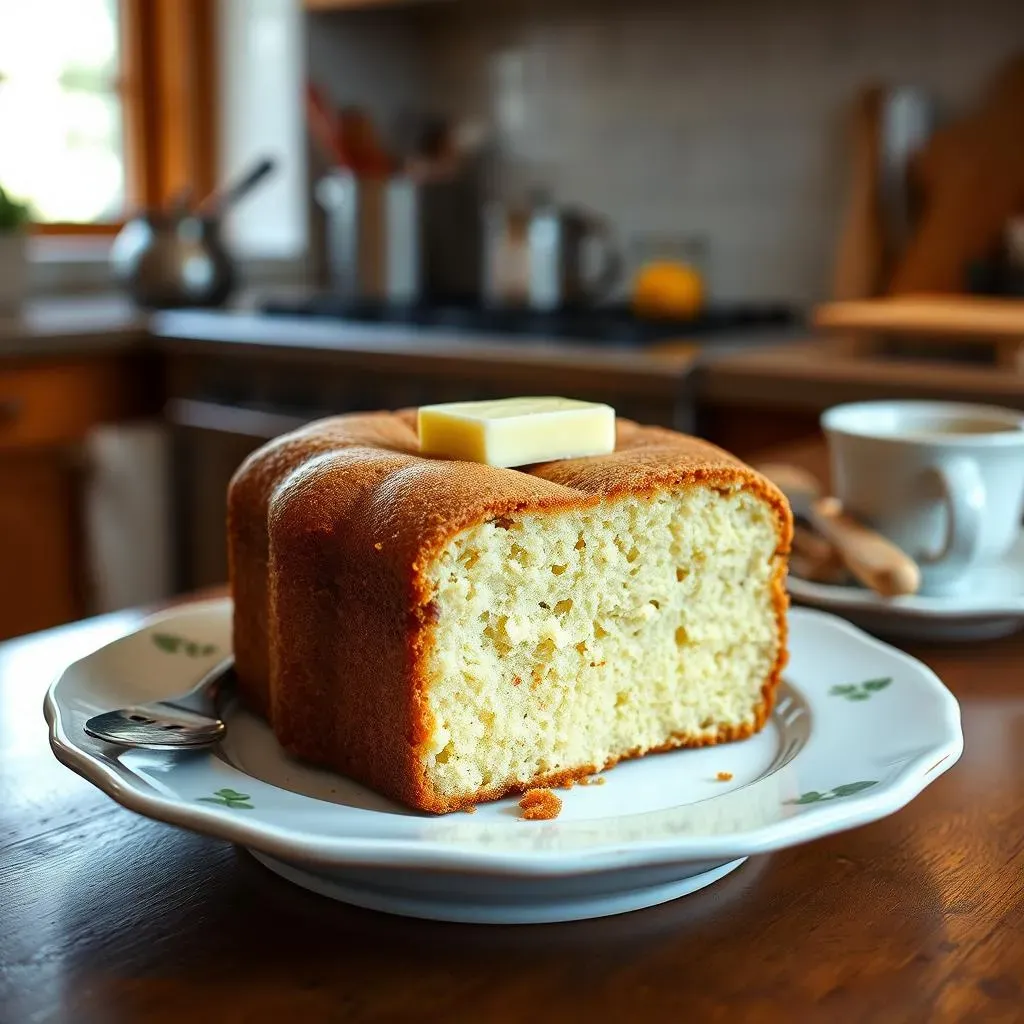
Craving a slice of heaven? Look no further than Ina Garten's Sour Cream Coffee Cake. This isn't just any coffee cake; it's a Barefoot Contessa masterpiece, renowned for its incredibly moist texture and delightful crumb topping. Forget dry, lackluster cakes – this recipe promises a rich, flavorful experience that's perfect for brunch, dessert, or a simple afternoon treat. We all know and love Ina Garten, and there's a reason this recipe is a standout. It's approachable for beginners, yet delivers a bakery-quality result every single time.
Crafting Ina Garten's Signature Sour Cream Coffee Cake
Crafting Ina Garten's Signature Sour Cream Coffee Cake
Gathering Your Ingredients: The Foundation of Flavor
let's talk ingredients. This is where Ina's magic starts. You'll need the usual suspects: butter, sugar, eggs, vanilla. But the real stars are the sour cream and cake flour. The sour cream is non-negotiable; it's what gives the cake that unbelievably moist and tender crumb. As for the cake flour, Ina swears it makes the cake lighter. If you don't have cake flour, don't panic! You can make a substitute by using all-purpose flour and cornstarch (more on that later). Make sure your butter and eggs are at room temperature – this is crucial for proper creaming and a smooth batter. Trust me, it makes a difference.
Before you even preheat the oven, take a moment to lay out all your ingredients. This isn't just about being organized; it's about setting the stage for a successful bake. Imagine you're a conductor, and each ingredient is an instrument in your orchestra. You want everything ready to go so you can create a symphony of flavor. And speaking of flavor, don't skimp on the vanilla extract! Ina always uses good quality vanilla, and so should you. It adds a depth of warmth that elevates the entire cake.
The Creaming Process: Achieving Lightness and Air
Now, let's get to the creaming process. This is where the butter and sugar become best friends. You want to cream them together until they're light and fluffy – like a cloud of sugary goodness. This usually takes about 4-5 minutes in an electric mixer fitted with the paddle attachment. Don't rush this step! It's essential for incorporating air into the batter, which will result in a tender cake. Scrape down the sides of the bowl occasionally to ensure everything is evenly combined. You don't want any pockets of unincorporated butter lurking in the shadows.
Once your butter and sugar are creamed, it's time to add the eggs, one at a time. Make sure each egg is fully incorporated before adding the next. This prevents the batter from curdling. After the eggs, add your vanilla extract and sour cream. The batter might look a little curdled at this point, but don't worry! It'll all come together when you add the dry ingredients. Just remember to mix until everything is just combined – overmixing can lead to a tough cake. We're aiming for tender and delicate, not chewy and dense.
Mastering the Streusel Topping for Ina Garten's Coffee Cake
Mastering the Streusel Topping for Ina Garten's Coffee Cake
The Perfect Crumble: Ingredients and Proportions
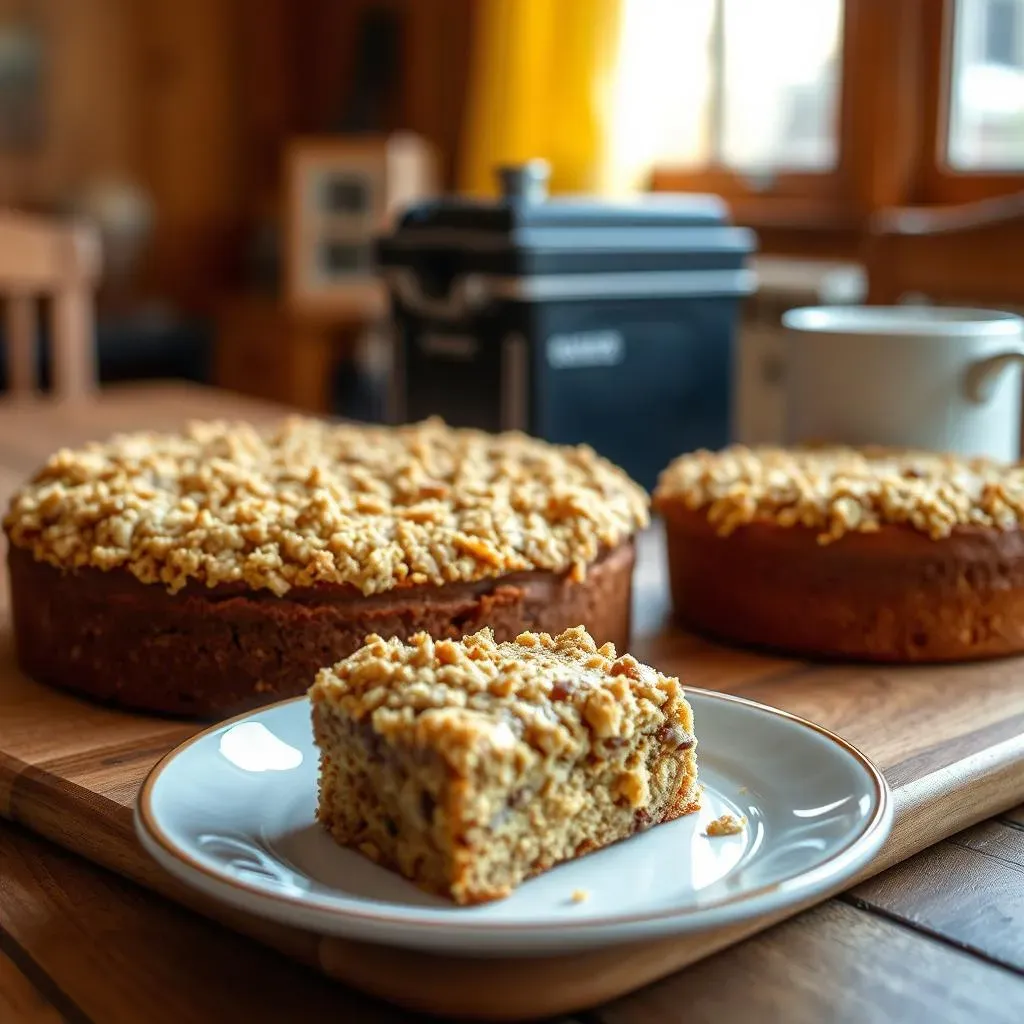
Alright, let's talk streusel! This is the crown jewel of any good coffee cake, and Ina's recipe is no exception. The key is getting the right ratio of ingredients to achieve that perfect crumble – not too dry, not too wet. You'll need brown sugar (light or dark, your choice!), flour, cinnamon, salt, butter, and walnuts. The brown sugar adds a lovely molasses flavor, while the cinnamon provides warmth and spice. And the walnuts? They add a delightful crunch that complements the soft cake beautifully.
Now, about that butter. It needs to be cold – seriously cold. This is what creates those little pockets of buttery goodness that melt in the oven and form the crumble. I like to cube my butter and then pop it back in the freezer for a few minutes before using it. Trust me, it makes a difference. And when it comes to the walnuts, feel free to experiment! Pecans, almonds, or even a sprinkle of oats would be delicious. Just make sure they're chopped into small pieces so they distribute evenly throughout the streusel.
Mixing the Streusel: Achieving the Ideal Texture
Mixing the streusel can be a bit of a workout, but it's totally worth it. You can use a pastry blender, your fingers, or even a food processor. If you're using a pastry blender, just cut the butter into the dry ingredients until the mixture resembles coarse crumbs. If you're using your fingers (my preferred method), rub the butter into the dry ingredients until you get that same coarse crumb texture. The food processor is the quickest option, but be careful not to overprocess – you want to pulse it until the mixture comes together in clumps.
Regardless of which method you choose, the goal is to create a mixture that's crumbly but still holds together when you pinch it. If it's too dry, add a little more melted butter, a teaspoon at a time. If it's too wet, add a little more flour. And don't be afraid to get your hands dirty! Sometimes the best way to gauge the texture is to feel it. Just make sure your hands are clean (and maybe a little bit cold) so you don't melt the butter.
Streusel Application: The Finishing Touch
Now for the fun part: applying the streusel! Once your cake batter is in the prepared pan, sprinkle the streusel evenly over the top. Don't be shy – you want a generous layer of that crumbly goodness. Gently press the streusel into the batter so it adheres properly. This will prevent it from falling off during baking. And if you're feeling extra fancy, you can reserve a little bit of the streusel to sprinkle on top after the cake has cooled slightly. This will give it an extra pop of texture and flavor.
Before you pop the cake in the oven, take one last look at your creation. Admire that beautiful streusel topping, knowing that it's about to transform into a golden-brown masterpiece. And as the cake bakes, your kitchen will fill with the irresistible aroma of cinnamon, brown sugar, and buttery goodness. Trust me, it's a sensory experience that's hard to beat. Get ready to impress everyone with your Ina Garten-inspired coffee cake!
Baking and Glazing Your Ina Garten Sour Cream Coffee Cake
Baking and Glazing Your Ina Garten Sour Cream Coffee Cake
Oven Temperature and Baking Time: The Sweet Spot
the oven's preheated to 350°F (175°C), right? This is crucial. Too hot, and you'll end up with a burnt top and a raw center. Too cool, and the cake will be dense and sad. We're aiming for that sweet spot where the cake is golden brown, springs back to the touch, and a toothpick inserted into the center comes out clean. Baking time usually takes around 45-55 minutes, but ovens vary, so keep an eye on it. Start checking for doneness around 40 minutes, and don't be afraid to tent the cake with foil if the top is browning too quickly. Remember, patience is a virtue when it comes to baking. Don't rush the process!
Also, use a 10-inch tube pan or Bundt pan. Make sure you grease and flour it thoroughly! I cannot stress this enough. Nothing is more heartbreaking than a beautifully baked cake that refuses to come out of the pan. Use cooking spray with flour in it, or grease with shortening and dust with flour. Tap out any excess flour. This will create a non-stick surface that will release the cake easily. And when the cake is done baking, let it cool in the pan for at least 15 minutes before inverting it onto a serving plate. This will give it time to firm up and prevent it from breaking.
Cooling and Releasing: Gentle Does It
Once the cake has cooled slightly in the pan, it's time for the big reveal. Place a serving plate over the top of the pan, and carefully invert the cake. Give it a gentle shake or tap to help release it. If it's being stubborn, try running a thin knife or spatula around the edges of the pan. And if all else fails, don't panic! Sometimes a little patience is all it takes. Let the cake sit upside down for a few more minutes, and gravity will eventually do its thing. Just remember to be gentle – you don't want to damage that beautiful cake you worked so hard to create.
After the cake is released, let it cool completely before glazing. This will prevent the glaze from melting and running off. I know it's tempting to dig in right away, but trust me, the wait is worth it. A fully cooled cake is easier to slice and handle, and the flavors will have time to meld together. Plus, the glaze will adhere better to a cool surface. So resist the urge to indulge, and let your cake reach its full potential.
Step | Description |
|---|---|
Preheat Oven | 350°F (175°C) |
Grease and Flour Pan | Thoroughly coat a 10-inch tube or Bundt pan |
Bake | 45-55 minutes, or until a toothpick comes out clean |
Cool in Pan | 15 minutes before inverting |
Cool Completely | Before glazing |
Maple Glaze Magic: The Final Flourish
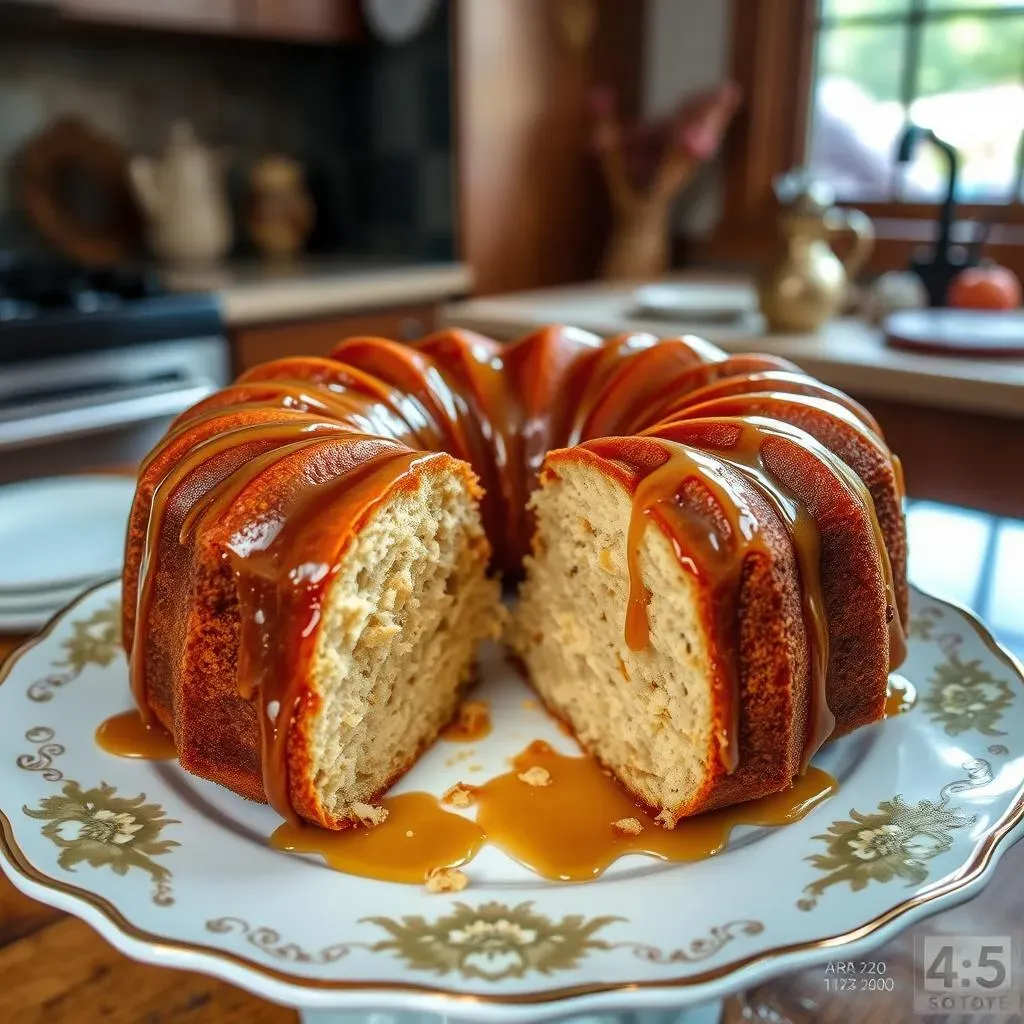
Alright, let's talk glaze! Ina's recipe calls for a simple maple glaze made with confectioners' sugar and maple syrup. But feel free to get creative! You can add a splash of vanilla extract, a pinch of cinnamon, or even a tablespoon of bourbon for an extra kick. The key is to whisk the ingredients together until you have a smooth, pourable consistency. If the glaze is too thick, add a little more maple syrup. If it's too thin, add a little more confectioners' sugar. And don't be afraid to taste it as you go – you want it to be perfectly sweet and flavorful.
Once the cake is completely cool, drizzle the glaze evenly over the top. Let it cascade down the sides, creating a beautiful, glossy finish. And if you reserved a little bit of the streusel, now's the time to sprinkle it on top for an extra touch of texture and flavor. Let the glaze set for a few minutes before slicing and serving. And there you have it – a perfectly baked, beautifully glazed Ina Garten Sour Cream Coffee Cake that's sure to impress everyone. Enjoy!
Tips and Variations for the Perfect Ina Garten Coffee Cake
Tips and Variations for the Perfect Ina Garten Coffee Cake
Flour Power: Cake Flour vs. All-Purpose
let's get nerdy about flour for a sec. Ina calls for cake flour, and there's a reason! Cake flour has a lower protein content than all-purpose, which results in a more tender crumb. But what if you don't have cake flour on hand? No sweat! You can easily make a substitute by using all-purpose flour and cornstarch. For every cup of cake flour, use 1 cup of all-purpose flour minus 2 tablespoons, then add 2 tablespoons of cornstarch. Whisk it all together, and you're good to go! This little trick will save you a trip to the store and still give you that light, airy texture we're after. However, if you have the option, I would use cake flour.
Also, don't skip the sifting step! Sifting the flour (whether it's cake flour or your homemade substitute) helps to aerate it and remove any lumps. This will ensure that it incorporates evenly into the batter and results in a smoother, more consistent cake. I know it seems like an unnecessary step, but trust me, it makes a difference. Plus, it's kind of therapeutic, right? Just a few minutes of sifting can elevate your cake from good to great.
Flavor Remix: Swapping Ingredients and Adding Zest
Now, let's talk variations! This is where you can really let your creativity shine. Feel free to swap out the walnuts in the streusel for other nuts like pecans, almonds, or even macadamia nuts. Or, add a sprinkle of oats for a heartier texture. You can also experiment with different spices in the streusel – try adding a pinch of cardamom, nutmeg, or even ginger for a warm, festive flavor. The possibilities are endless!
Want to add a little zest to your cake? Grate some orange or lemon zest into the batter for a bright, citrusy flavor. Or, add a tablespoon of your favorite liqueur, like amaretto or Frangelico, for an extra kick. You can also incorporate chocolate chips, dried fruit, or even a swirl of jam into the batter for a unique twist. Just remember to not overdo it – you want the cake to still be recognizable as Ina's Sour Cream Coffee Cake, just with a little personal flair.
Variation | Ingredient | Notes |
|---|---|---|
Nuts | Pecans, almonds, macadamia nuts | Substitute for walnuts in streusel |
Spices | Cardamom, nutmeg, ginger | Add to streusel for warmth |
Citrus Zest | Orange, lemon | Grate into batter for brightness |
Liqueur | Amaretto, Frangelico | Add to batter for extra kick |
Add-Ins | Chocolate chips, dried fruit, jam | Incorporate into batter for unique twist |
Storage Secrets: Keeping it Fresh and Delicious
So, you've baked your Ina Garten Sour Cream Coffee Cake, and it's a masterpiece! But what if you have leftovers? Don't worry, this cake stores beautifully. To keep it fresh, wrap it tightly in plastic wrap or store it in an airtight container at room temperature. It will stay moist and delicious for up to 3 days. If you want to store it for longer, you can freeze it. Just wrap it tightly in plastic wrap and then in foil, and it will keep for up to 2 months. When you're ready to eat it, thaw it overnight in the refrigerator and bring it to room temperature before serving.
Also, a quick tip: If your cake starts to dry out a little bit, you can revive it by microwaving it for a few seconds. Just be careful not to overdo it, or it will become tough. Or, you can brush it with a little bit of simple syrup (equal parts sugar and water, heated until the sugar dissolves) to add moisture and shine. And if all else fails, just toast it and spread it with butter – it's still delicious!
Indulge in the Timeless Delight of Ina Garten's Sour Cream Coffee Cake
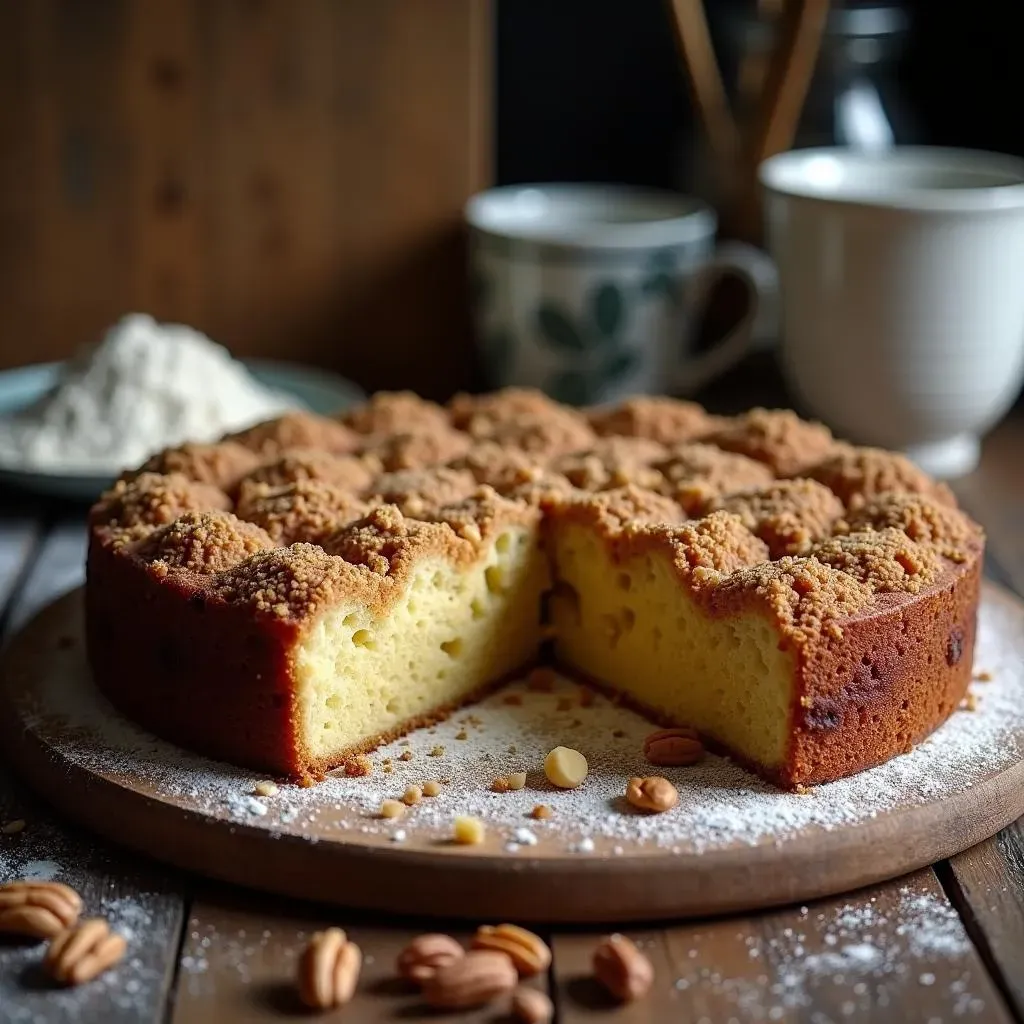
From its tender crumb to its sweet, nutty streusel, Ina Garten's Sour Cream Coffee Cake is more than just a recipe; it's an experience. This cake is a testament to the fact that simple ingredients, when combined with care and attention, can create something truly extraordinary. So, gather your ingredients, preheat your oven, and prepare to bake a cake that will bring joy to every occasion. Whether you follow the recipe to the letter or add your own personal touch, this Ina Garten classic is guaranteed to be a crowd-pleaser. Enjoy every delicious bite!