Table of Contents
Ever wished you could have a restaurant-style dessert without all the fuss? Well, get ready to meet your new best friend: Easy Mexican Fried Ice Cream. This isn't your typical fried ice cream that requires deep-frying, oh no. We’re talking about a simple, no-fry version that gives you all the satisfying crunch and creamy coolness you crave. We'll take you through a fun journey of creating this amazing treat, using just a few simple ingredients and steps. Imagine scooping cold, vanilla ice cream, coating it in a cinnamon-sugar cornflake crust and then topping it with your favorites, like hot fudge, whipped cream, or even a cherry. This dessert is perfect for any occasion, especially those hot summer days when you need a quick, delicious, and refreshing treat. This article will guide you through each step, from gathering your ingredients to serving up your masterpiece, ensuring that you'll be a pro at making this mexican ice cream dessert in no time. Ready? Let's get started!
Ingredients for Your Mexican Ice Cream Dessert

Ingredients for Your Mexican Ice Cream Dessert
The Cold and Creamy Base
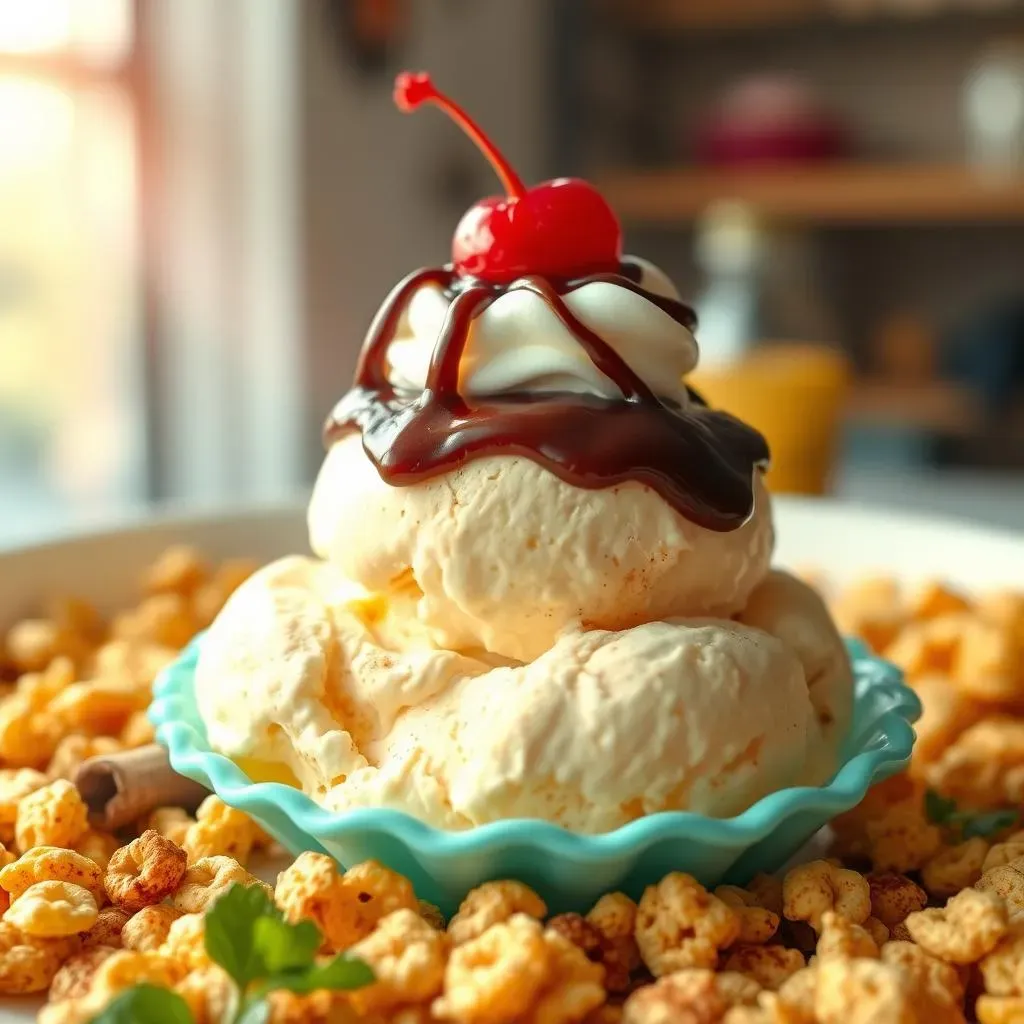
first things first, you can’t have a proper Mexican ice cream dessert without, well, the ice cream! For this recipe, vanilla is our go-to, it’s classic and it lets the other flavors shine. But hey, don’t be shy, if you're feeling adventurous, you can totally swap it out for another flavor, something like cinnamon or even chocolate would work great, just make sure it’s something you really enjoy. I once tried it with a caramel swirl, and let me tell you, it was a game changer! Remember, this is your dessert, so have fun with it and choose something you love. We need about 1.5 quarts, which is enough to make about 15 servings, perfect for a party.
The Crunchy Coating
Next up, the part that makes it "fried" without any actual frying – the crunchy coating! We’re using corn flakes for this, the regular kind you might have for breakfast. But here's a little tip, make sure they are nice and crushed, not too fine, you still want some texture. Now, for the flavor bomb, we're mixing the corn flakes with sugar and cinnamon. It's like a warm hug for your taste buds! If you're avoiding gluten, don't worry, grab some gluten-free corn flakes, and you're set. I also like to add a little bit of melted butter to the mix, it helps everything stick together and gives it a nice golden color. We need about 3 cups of cornflakes, 1/2 cup of sugar, 2 teaspoons of cinnamon, and 2 tablespoons of melted butter.
Ingredient | Quantity | Notes |
|---|---|---|
Vanilla Ice Cream | 1.5 quarts | Can substitute with other flavors |
Corn Flakes | 3 cups | Crushed, gluten-free option available |
Sugar | 1/2 cup | Granulated sugar |
Cinnamon | 2 teaspoons | Ground cinnamon |
Melted Butter | 2 tablespoons | Unsalted butter |
Optional Toppings: Your Personal Touch
Finally, let's talk about toppings, because who doesn't love toppings? This is where you can let your creativity shine. Hot fudge is a classic, it adds that rich chocolatey goodness that goes so well with cinnamon. Whipped cream is another must-have for me, it makes everything feel extra special. And of course, don’t forget the cherry on top! But don't feel limited by these, you can add anything you like, like caramel sauce, chopped nuts, sprinkles, or even some fresh fruit. One time, I used a little bit of dulce de leche and it was amazing, so don't be afraid to experiment and see what you like best. It’s your dessert, so make it your own!
Making Mexican Ice Cream Dessert: StepbyStep

Making Mexican Ice Cream Dessert: StepbyStep
Alright, so you've got your ingredients ready, now let's get to the fun part – actually making the Mexican fried ice cream, or rather, the *no-fry* version! First, we need to shape our ice cream into balls. I like using an ice cream scoop for this, it makes them nice and round, and also, it keeps my hands from getting too cold. You can also use a spoon, but just be careful, they can get a little messy. Once you've got your scoops, place them on a baking sheet lined with parchment paper or a plate, then pop it in the freezer for at least 3 hours, or even better, overnight. This step is super important because we need the ice cream to be rock solid, otherwise, it will melt too fast when we coat it. Trust me, I've tried skipping this step and it was a total disaster, melted ice cream everywhere!
While your ice cream is getting nice and frozen, let's prepare the crunchy coating. In a bowl, mix together the crushed corn flakes, sugar, and cinnamon. If you're adding butter, pour the melted butter over the mixture and stir until everything is evenly coated. It should look like a yummy, slightly sticky, crumbly mixture. Once the ice cream balls are frozen solid, take them out of the freezer. Now, working quickly, roll each ice cream ball in the corn flake mixture, making sure it is completely covered. If the coating doesn’t stick at first, just gently press it on with your fingers. I like to do this in batches so the ice cream doesn't get too soft. After coating each ball, place it back on the baking sheet or plate and back into the freezer. You can freeze them for a few hours, or even overnight, until you're ready to serve them.
Step | Action | Notes |
|---|---|---|
1 | Scoop ice cream into balls | Use an ice cream scoop or spoon |
2 | Freeze ice cream balls | For at least 3 hours or overnight |
3 | Mix corn flakes, sugar, and cinnamon | Add melted butter if desired |
4 | Coat ice cream balls | Roll in the corn flake mixture |
5 | Refreeze coated ice cream balls | Until ready to serve |
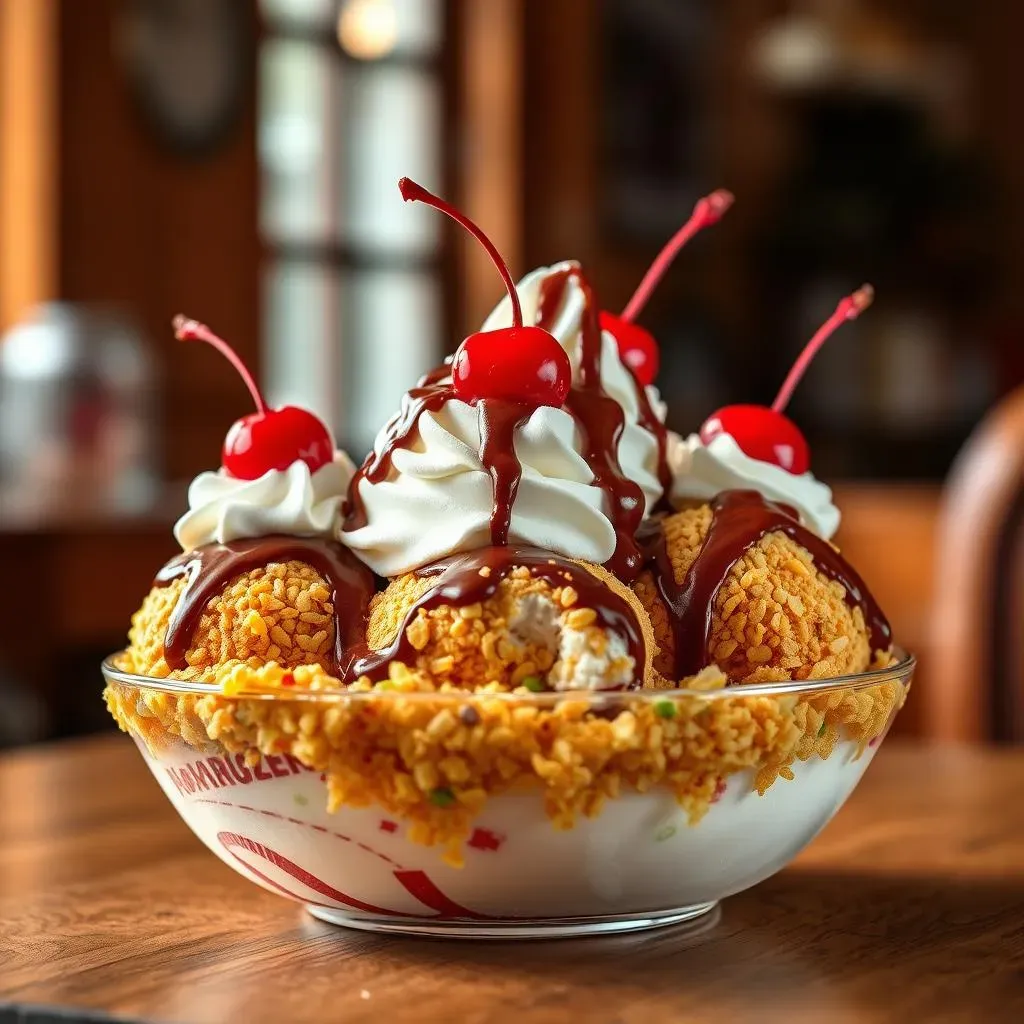
And that's it! You've officially made your no-fry Mexican fried ice cream. When you're ready to serve, take the coated ice cream balls out of the freezer and place them on your serving plates. Now, it's time to get creative with those toppings! Drizzle with hot fudge, add a dollop of whipped cream, and don't forget that cherry on top. Or, if you’re feeling adventurous, try some of the other toppings we talked about, like caramel sauce, chopped nuts, or fresh fruit. The best part about this dessert is that it's super easy to customize to your liking. Remember, the key to success with this dessert is to keep everything nice and cold. So, work quickly, and don't be afraid to pop everything back in the freezer if you need to. Now, grab a spoon and enjoy the fruits of your labor!
Serving and Enjoying Your Mexican Ice Cream Dessert

Serving and Enjoying Your Mexican Ice Cream Dessert
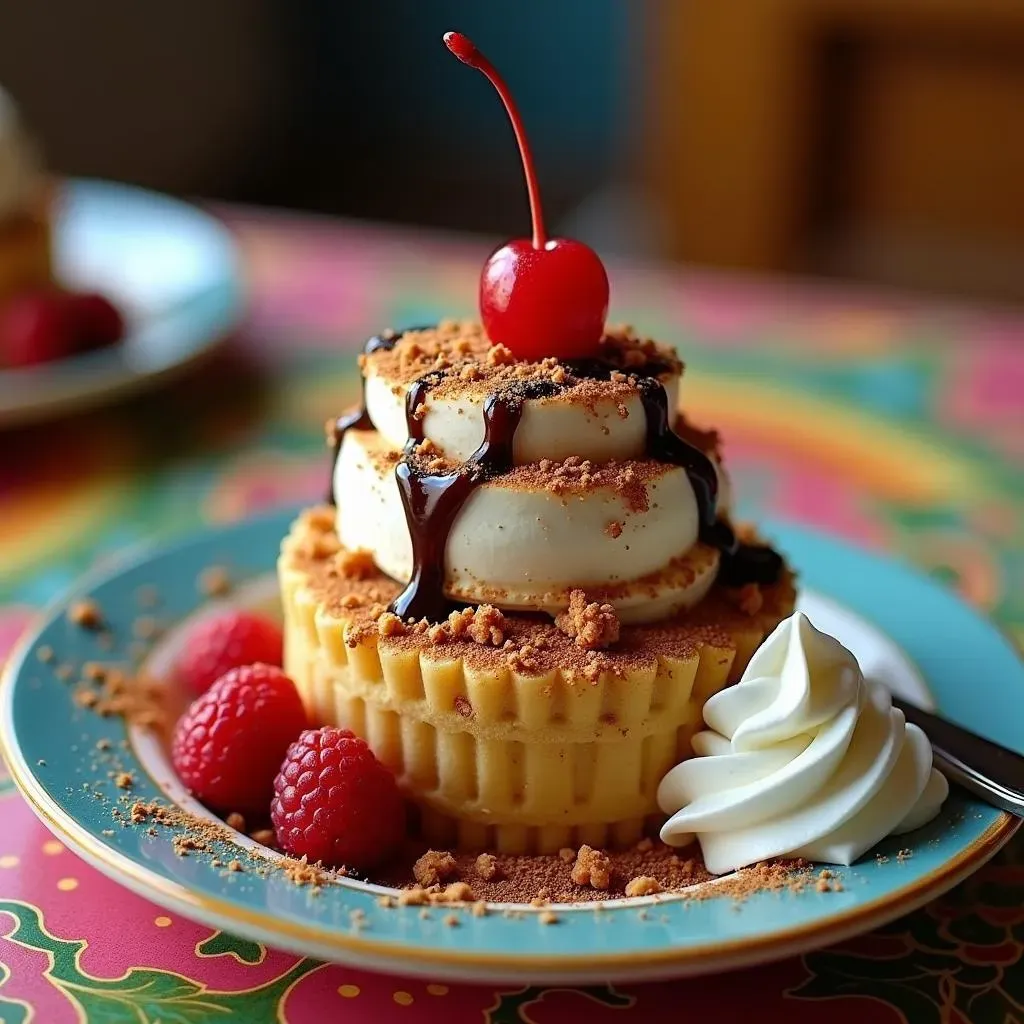
so you've made these amazing little balls of frozen goodness, now it's time to actually serve them up and see the smiles on everyone's faces. Presentation is key, right? I like to start with a nice plate, maybe something colorful to make the dessert pop. Place a few of those coated ice cream balls on each plate, and then the real fun begins – the toppings! This is where you can let your inner artist shine. Drizzle hot fudge in a zig-zag pattern, add a swirl of whipped cream, and then, of course, the cherry on top. I also like to sprinkle some extra cinnamon on top, just for that extra touch of flavor and warmth. If you have some fresh fruit on hand, like strawberries or raspberries, those can add a burst of color and freshness. Remember, it’s all about making it look as good as it tastes, and trust me, it tastes amazing!
Now, let's talk about enjoying this masterpiece. Since it is ice cream, it's best served immediately. The cold, creamy ice cream combined with the crunchy, cinnamon coating is just the perfect mix of textures and flavors. I find that it’s a great dessert for a party because it is easy to make ahead of time and then just assemble when you're ready to serve. I’ve even seen people use it for a taco Tuesday night dessert, which I think is brilliant. The best part about this dessert? It’s totally customizable, so everyone can have it exactly the way they want. So, grab a spoon, dig in, and enjoy every single bite of your homemade Mexican ice cream dessert. It's not just a dessert; it's an experience, and it's one that I think you'll want to repeat again and again.
Serving Suggestion | Details |
|---|---|
Plating | Use colorful plates to make the dessert pop |
Toppings | Drizzle hot fudge, add whipped cream, cherry, and extra cinnamon |
Fruit | Add fresh fruits for extra color and freshness |
Serving Time | Serve immediately for the best texture and flavor |
Customization | Let everyone add their favorite toppings |
Wrapping Up Your Mexican Ice Cream Adventure
So there you have it—a super easy, no-fry version of Mexican fried ice cream that’s sure to impress. From the crunchy, cinnamon-kissed coating to the creamy ice cream center, this dessert hits all the right notes. Whether you’re making it for a party, a family get-together, or just a quiet night in, it’s a guaranteed crowd-pleaser. The best part? It’s totally customizable—feel free to experiment with different ice cream flavors and toppings to make it your own. Now that you’ve mastered this recipe, you’re ready to whip up a batch anytime the craving strikes. Enjoy your delicious, homemade Mexican ice cream dessert!