Table of Contents
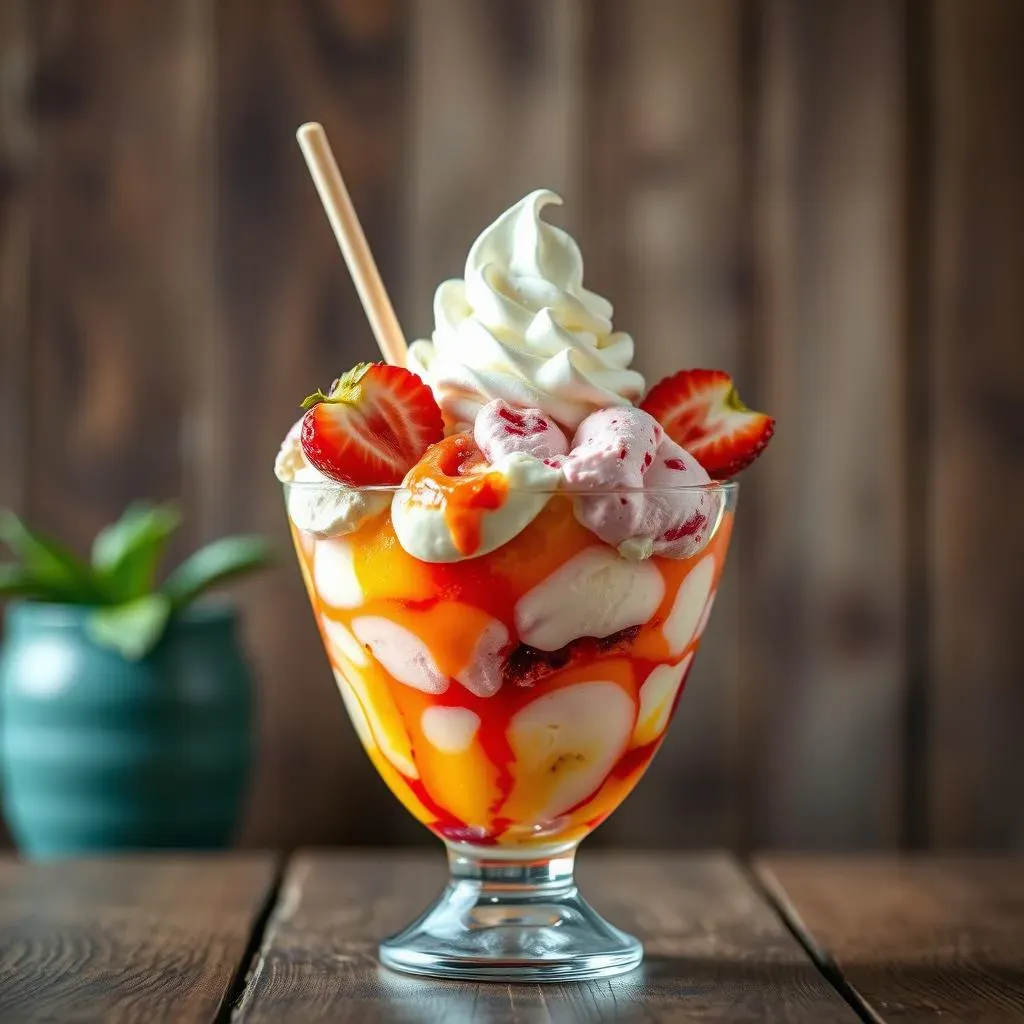
Ever had a Mexican ice cream in a bag? Not the store-bought kind, but the real deal, bursting with fresh flavors and a creamy texture that's just… wow? These aren't your average popsicles; they're Bolis, a beloved frozen treat from Mexico. I was lucky enough to learn the secrets to making these from my husband's aunt, who is basically a Bolis legend in our family. Her Bolis are so good that they disappear within minutes at any family gathering. This isn’t just any recipe; it’s the one that gets everyone excited. We're talking authentic, melt-in-your-mouth deliciousness, and I'm about to share it with you. We'll start with my journey into the world of Bolis, then we’ll dive into the ingredients and prep, and then you’ll learn how to assemble and freeze them. Finally, I’ll give you some ideas to make it your own. Get ready to make some magic—and the best Mexican ice cream in a bag you've ever tasted!
My Mexican Bolis Journey

My Mexican Bolis Journey
A Family Tradition
It all started with my husband's family, they are from Mexico, and they are serious about their food. When I first met them, I was introduced to a whole new world of flavors, textures, and, of course, Bolis. I remember walking into my first family barbecue, and there was this huge cooler, not with drinks, but with dozens of colorful plastic bags. I was confused, but then my husband's aunt, Tia Rosa, offered me a bright pink one. It was a strawberry Bolis, and it was like nothing I'd ever tasted. The creamy, fruity, icy goodness was a revelation. It wasn't just a treat; it was an experience.
Tia Rosa is the Bolis queen of the family. Seriously, everyone raves about her Bolis. Every family gathering, her Bolis are the first to disappear, and everyone is always asking for more. I knew that if I wanted to truly be part of the family, I needed to learn her secrets. So, I started paying attention, asking questions, and taking notes whenever she was making them. It wasn't easy; she has some very specific methods and ingredients she swears by. But, through a lot of observation and a few comical kitchen mishaps, I finally got it. And now, I get to share it with you.
The Bolis Revelation
What struck me most about Tia Rosa's Bolis wasn't just the taste, it was how simple they were. No fancy equipment, no complicated techniques, just a few good ingredients and a lot of love. They're the kind of treat that brings people together, that makes you feel like you're part of something special. I realized that this wasn't just about making a frozen dessert; it was about preserving a piece of my husband's culture and sharing it with the world. And believe me, once you taste these, you'll understand why I'm so passionate about them. It's like a little piece of Mexico in every bag.
The process itself is part of the fun. It's not just about following a recipe; it’s about the ritual of making something from scratch, with your own hands. You have to see it to believe it. The smell of the cooked strawberries, the creamy texture of the milk mixture, the anticipation of waiting for them to freeze – it’s a whole sensory experience. So, buckle up, because I'm about to guide you through each step, and you’re going to be amazed at how easy and fun it is to make your own batch of authentic Mexican Bolis.
Key Element | Description |
|---|---|
Family Tradition | The recipe is passed down through generations. |
Authentic Flavors | Uses specific ingredients to achieve a genuine Mexican taste. |
Simplicity | Easy to make with minimal equipment. |
Making the Magic: Ingredients and Prep
Making the Magic: Ingredients and Prep
The Star Ingredients
Alright, let's talk ingredients. This isn't just about throwing stuff together; it's about using the right stuff. Tia Rosa is particular, and I've learned that it makes all the difference. For the base, we're using Carnation dried milk. Yeah, the powdered stuff. Trust me on this one. It gives the Bolis that creamy texture that you just can’t get with regular milk. Next up, we need Nestle condensed milk, the sweet, thick kind that comes in a can. This is what adds the perfect amount of sweetness and that rich flavor that makes these Bolis so addictive. And for the chocolate flavor, we’re using Nesquik chocolate milk powder; it's not just for kids anymore. These brands are key to getting that authentic taste, so don't skip them!
Now, for the strawberry pulp, we're going old school. You can use fresh or frozen strawberries, doesn't really matter. We’ll cook them down with some sugar, a splash of vanilla extract, and a squeeze of lemon juice. The lemon juice is the secret weapon, it brightens the flavor and keeps the sweetness from being too much. Don't skimp on the cooking time; you want the strawberries to break down into a nice, thick pulp. This is what will give our strawberry Bolis that real fruit flavor and a bit of texture. It's like making jam, but for ice cream. And that's the magic, right there.
Ingredient | Why It's Important |
|---|---|
Carnation Dried Milk | Provides a creamy texture. |
Nestle Condensed Milk | Adds sweetness and richness. |
Nesquik Chocolate Powder | Gives an authentic chocolate flavor. |
Fresh or Frozen Strawberries | Forms the base of the fruit pulp. |
Prepping the Mixture
now that we have the ingredients sorted, let's get to mixing. First, you're going to take your dried milk and mix it with some warm water. Make sure it dissolves completely; you don't want any powdery bits in your Bolis. Then, in a large bowl, combine the milk mixture with your evaporated milk and the condensed milk. Stir it all together until it’s smooth and well combined. This is your base, the canvas on which we will paint our flavors. Once the base is ready, split it into two bowls; one for the Nutella and one for the strawberry. I know what you’re thinking, Nutella? Yes, Nutella! Trust me, it's a game changer.
For the Nutella bowl, add a generous amount of Nutella and mix until it's fully incorporated. For the strawberry bowl, add your cooked strawberry pulp and mix it well. Now you have two amazing mixtures, one chocolatey and nutty, the other fruity and vibrant. It’s like having two different worlds in two bowls, and they’re both going to be incredible. Now that everything’s prepped, it’s time to assemble the Bolis, and that’s where the real fun begins. This part is easy; it’s like putting together a puzzle, just with delicious ingredients.
Bagging and Freezing Your Mexican Ice Cream
Bagging and Freezing Your Mexican Ice Cream
The Art of the Bag
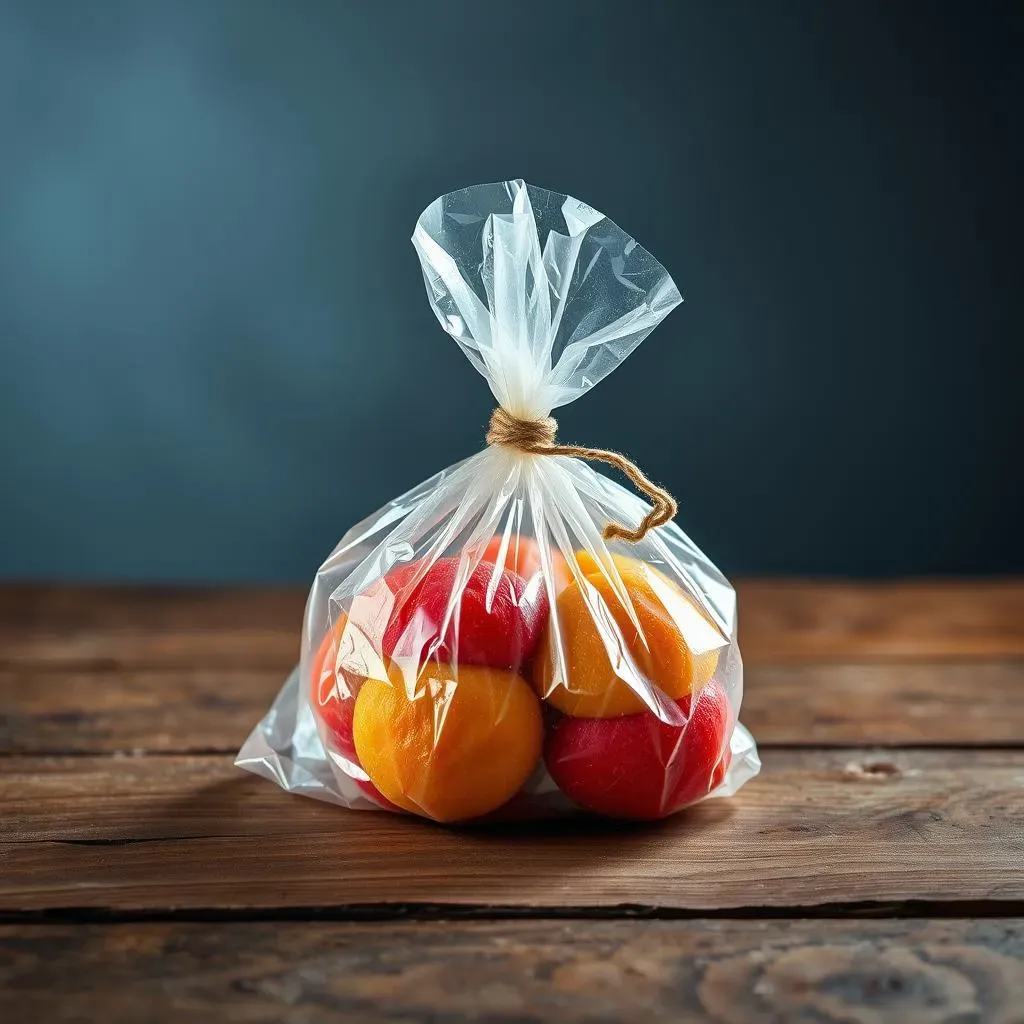
so you’ve got your delicious mixtures ready, now comes the fun part: bagging them up! You're going to need small plastic bags, the kind that are usually used for sandwiches or snacks. Don't use the big gallon bags; they’re too big, and the Bolis won't freeze properly. Fill each bag about three-quarters full with your chosen mixture, leaving some room at the top. This is important because when the Bolis freeze, they expand, and you don't want them bursting open. Once you've filled a bag, carefully tie a knot at the top, making sure it’s nice and tight. You can also use a rubber band if you prefer, but I find a knot is more secure. It’s like making little flavor-filled water balloons, but instead of water, it’s creamy, delicious ice cream. And just like that, you’re ready to freeze your Bolis.
Once all your Bolis are bagged and tied, it’s time to pop them in the freezer. Make sure they are lying flat, so they freeze evenly. I like to lay them on a baking sheet or a large flat container before putting them in the freezer. This helps them freeze faster and prevents them from sticking together. Let them freeze completely solid, this usually takes about 4 to 6 hours, but I prefer to leave them overnight. Patience is key here, trust me, the wait is worth it. Once they are completely frozen, they are ready to be enjoyed! There is nothing better than having a frozen Bolis on a hot day.
Step | Description |
|---|---|
Bagging | Fill small plastic bags ¾ full, leaving room at the top. |
Tying | Securely tie a knot or use a rubber band at the top. |
Freezing | Lay bags flat on a tray and freeze until solid. |
Beyond Strawberry: Bolis Flavor Adventures

Beyond Strawberry: Bolis Flavor Adventures
Endless Possibilities
so you've mastered the strawberry and Nutella Bolis, right? But let's be honest, the world of Bolis is so much bigger than just those two flavors. This is where you get to be creative and make it your own. Think of the Bolis base as a blank canvas and the flavors as your paint. You can go wild! One of my personal favorites is Mamey, it’s a tropical fruit that's creamy and sweet, it makes an amazing Bolis. I also love to experiment with banana bread flavor, I add mashed banana, a pinch of cinnamon, and a touch of nutmeg, it’s like eating a frozen slice of banana bread. It’s so delicious! Don't be afraid to mix and match, and find out what you love the most.
Another great flavor combination is coconut milk with rice. It’s a classic Mexican treat that translates beautifully into Bolis. Use full-fat coconut milk for a richer flavor and add a bit of cooked rice for a unique texture. The rice adds a surprising element, it’s not gritty, it's more like a soft, chewy surprise. You can also add a touch of vanilla or cinnamon to enhance the flavor. The key is to experiment and have fun with it. It's really hard to mess this up, so just go for it. This is your chance to make Bolis that are uniquely yours, so don't hold back!
Flavor Idea | Description |
|---|---|
Mamey | Tropical fruit, creamy and sweet. |
Banana Bread | Mashed banana, cinnamon, nutmeg. |
Coconut Rice | Coconut milk, cooked rice, vanilla/cinnamon. |
Tips for Success
When you're experimenting with new flavors, start small. Make a small batch of each flavor to see what you like, before making a huge batch of something you might not love. Always taste your mixtures before bagging them up, you can always add more sugar, spices, or fruit pulp, but you can’t take it out. And don’t be afraid to get inspiration from other desserts. If you love a certain cake, pie, or ice cream flavor, try turning it into a Bolis flavor. The possibilities are endless. You can use extracts, jams, fresh or frozen fruit, chocolate, nuts, anything you want!
Also, keep in mind that the quality of your ingredients will make a huge difference in the final product. Use good-quality fruit, spices, and extracts. Don’t use artificial flavorings if you can avoid it. It's also a good idea to write down your recipes and flavor combinations, so you can recreate your favorites and share them with your friends and family. Making Bolis is a fantastic activity to do with kids, they love helping out in the kitchen and they also love eating them. So, get your family involved and make some memories together while making delicious Mexican treats.
"The best way to learn is by doing. Don't be afraid to make mistakes, that's how you learn." - My Husband Aunt
Your Bolis Adventure Awaits!
So, there you have it—a taste of Mexico, right in your kitchen. From the specific brands that make all the difference to the fun of tying off those little bags, making Bolis is more than just a recipe; it's an experience. It's a chance to share something special with your family, and maybe even start your own Bolis tradition. Don't be afraid to get creative with flavors, and most importantly, have fun with it! Now, go on, grab your ingredients, and make some delicious Mexican ice cream in a bag. I promise, you won't regret it!