Table of Contents
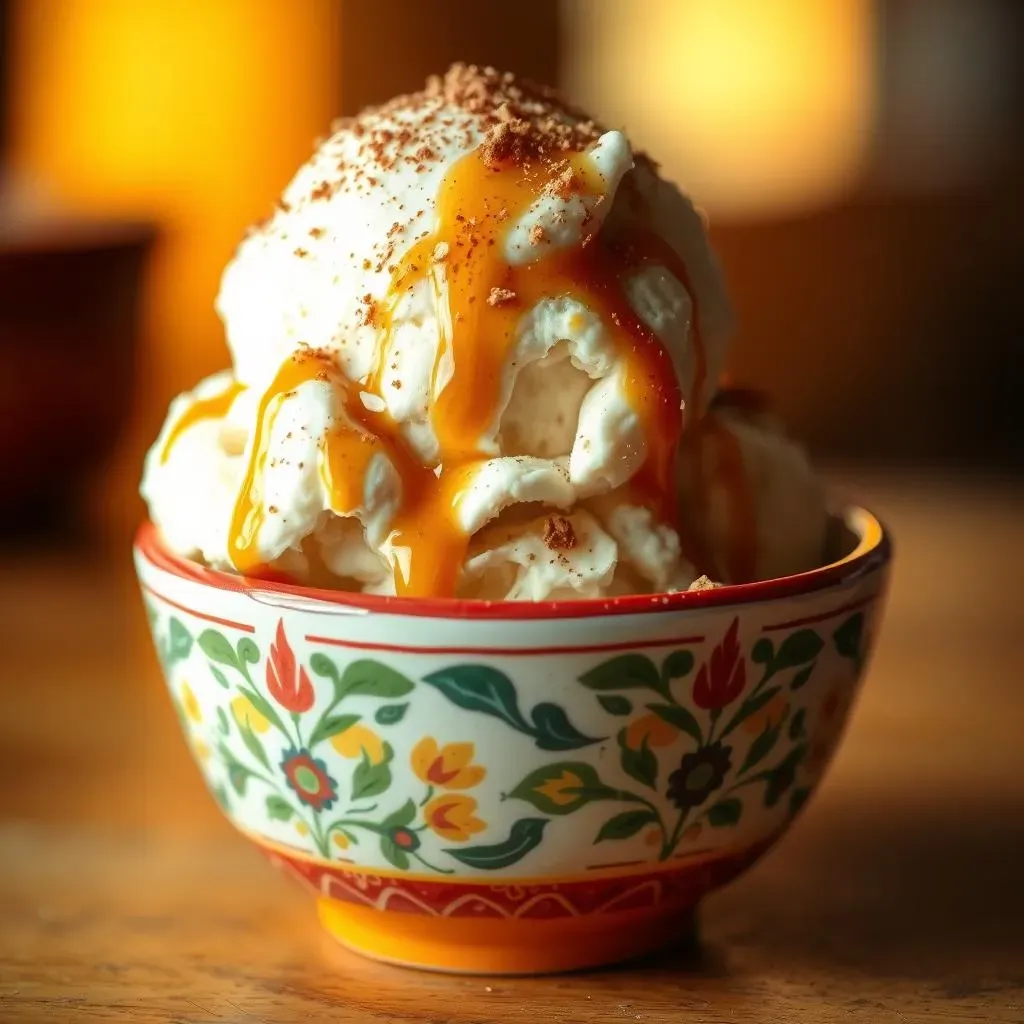
Have you ever tasted something so good it felt like a warm hug on a summer day? That's what homemade Mexican vanilla ice cream is all about. Forget those bland, store-bought tubs; we're talking about rich, creamy, and intensely flavorful ice cream that will make your taste buds sing. This isn't just any vanilla ice cream, it's Mexican vanilla ice cream, and the secret lies in the unique vanilla extract and a touch of cinnamon. In this article, I'm going to guide you through the process of making this delightful treat at home. We'll explore two different methods, using either a stand mixer or an ice cream maker, so you can choose the one that suits you best. Plus, I'll share some tips and tricks to ensure your ice cream turns out perfectly every time. Get ready to embark on a sweet adventure and create a dessert that will impress your friends and family. So, let's get started and make some amazing mexican ice cream vanilla!
The Magic of Mexican Vanilla Ice Cream
The Magic of Mexican Vanilla Ice Cream
A Taste of Tradition
What makes Mexican vanilla ice cream so special? It's not just the name, it's the flavor! Regular vanilla extract is great, don't get me wrong, but Mexican vanilla has a warm, almost spicy undertone that makes it truly unique. This comes from the way the vanilla beans are cured and processed. It gives a deeper, richer taste that you just can't get from regular vanilla. It's like the difference between a simple song and a full orchestral piece; both are music, but one is just a lot more complex and interesting. I remember the first time I tried it, I was totally blown away. It was like vanilla had a secret life that I never knew about.
And let's not forget the cinnamon! A touch of ground canela (Mexican cinnamon) is the secret weapon. It's not overpowering, but it adds this lovely, warm hint that just makes the whole ice cream experience even more cozy. It's like adding a little extra sparkle to something already beautiful. This is why Mexican vanilla ice cream is more than just a dessert; it's a flavor adventure. It makes you think of family gatherings, sunny afternoons, and the joy of sharing something delicious with people you care about. I think that's why it's so popular. It brings more than just a cold treat to the table.
The Flavor Profile
Think about it: you have the creamy richness of the ice cream, the unique warmth of the Mexican vanilla, and the subtle spice of the cinnamon. It's this trifecta of flavors that creates something truly magical. It's not just sweet; it has layers. This ice cream isn't a one-note wonder; it's a symphony of tastes that dance on your tongue. It's the kind of dessert that makes you close your eyes and savor every spoonful. The complexity is what sets it apart and it's why so many people, including myself, get hooked after just one try. It is the perfect balance of simple yet sophisticated flavors.
The best part is that it's so versatile! You can enjoy it on its own, in a cone, or use it as a topping for other desserts. Imagine a warm slice of apple pie topped with a scoop of this creamy goodness. It's the perfect combination of hot and cold, sweet and spicy. Or, how about a milkshake? Mexican vanilla ice cream makes for an incredibly flavorful and satisfying shake. The possibilities are endless. It's the type of treat that can be the star of any dessert menu. It is a simple, yet powerful, dessert that brings a smile to anyone's face.
Flavor Component | Description |
|---|---|
Mexican Vanilla | Warm, spicy undertones, richer and more complex than regular vanilla |
Cinnamon (Canela) | Adds a subtle, warm spice that complements the vanilla |
Cream | Provides the rich, creamy base for the ice cream |
Crafting Your Own Mexican Vanilla Ice Cream: Two Ways
Crafting Your Own Mexican Vanilla Ice Cream: Two Ways
The Stand Mixer Method
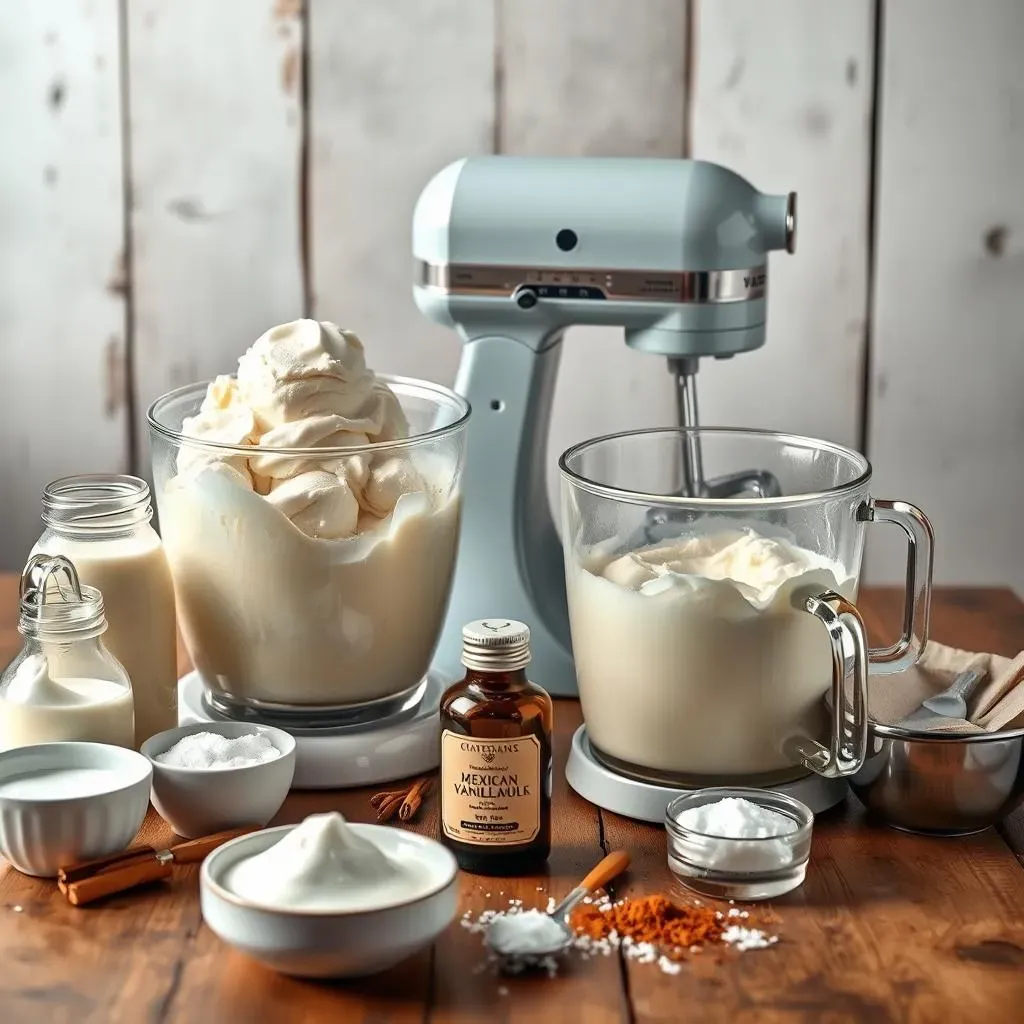
Alright, so you're ready to make some ice cream, but maybe you don't have an ice cream maker? No problem! The stand mixer method is here to save the day, and trust me, it works like a charm. The key here is patience and a little bit of planning. You'll need to chill your stand mixer bowl overnight. I know, it sounds a bit extra, but it makes a huge difference. A cold bowl helps the ice cream mixture freeze up faster, giving you that perfect creamy texture. It's like getting your car ready for a race; you can't skip the prep work if you want the best performance. Once your bowl is nice and frosty, you're ready to go.
You just toss all your ingredients into the chilled bowl – that's your heavy cream, half and half, sugar, Mexican vanilla extract, a dash of ground cinnamon, and a pinch of salt. Then, turn that mixer on low, and let it go to work for about 20-25 minutes. Yes, 25 minutes, that’s not a typo. During this time, you’ll see the mixture slowly start to thicken and become this lovely, fluffy cloud. It’s like watching a science experiment unfold right in your kitchen. The longer you let it mix, the more air gets incorporated, making the ice cream light and airy. It's this step that really gives you that soft, scoopable texture. Once it’s done, you can transfer it to a freezer-safe container and let it firm up for a couple of hours. It's so simple, yet so satisfying.
The Ice Cream Maker Method
Now, if you happen to have an ice cream maker, you’re in for a treat – it simplifies the process even more! It’s like having a personal ice cream chef in your kitchen. This method is a bit quicker and requires a little less babysitting. First, you'll mix all your ingredients together in a bowl until they're well combined; no need to chill the bowl beforehand. It’s just a matter of getting everything nicely blended before the real magic happens. Think of it as prepping the stage for the main event. Once that is done, you just pour the mixture into your ice cream maker, turn it on, and let it do its thing according to the manufacturer's instructions.
Usually, this takes around 20-30 minutes. The machine churns the mixture, freezing it while also incorporating air, just like the stand mixer method. It's like having a mini blizzard inside your ice cream maker. The result is a soft, fluffy ice cream that’s ready to be devoured. You'll notice that the ice cream is quite soft at this stage, so you’ll want to transfer it to a container and freeze it for a couple of hours to let it firm up. It’s like giving the ice cream a little time to rest before it goes on stage. This method is super convenient and it is my go to method when I have little time to make ice cream.
Method | Equipment | Process | Time |
|---|---|---|---|
Stand Mixer | Stand mixer with chilled bowl | Mix all ingredients on low speed for 20-25 minutes | 20-25 minutes mixing, 2-3 hours freezing |
Ice Cream Maker | Ice cream maker | Mix ingredients and churn according to maker's instructions | 20-30 minutes churning, 2-3 hours freezing |
Tips for the Best Mexican Vanilla Ice Cream
Tips for the Best Mexican Vanilla Ice Cream
Quality Ingredients Matter
let's talk ingredients, because this is where the magic truly happens. First off, don't skimp on the cream. I'm talking about the good stuff – heavy whipping cream. It's what gives the ice cream that super-rich, melt-in-your-mouth texture. It's like the foundation of a house; you want it to be strong and reliable. Then, there's the vanilla. You absolutely, positively need to use real Mexican vanilla extract, not the imitation stuff. The difference is night and day. Real Mexican vanilla is more aromatic, more complex, and has that signature warm flavor we're going for. It's worth the extra cost, trust me. It's like buying a great piece of art versus a cheap print; the quality just shines through. And lastly, use a good quality cinnamon. I prefer ground canela, which is Mexican cinnamon, but any good quality cinnamon will work.
Don't underestimate the power of a pinch of salt. It might sound odd in ice cream, but it enhances all the other flavors and keeps it from tasting too sweet. It’s like the secret ingredient that chefs use to make dishes go from good to great. Think of it like a seasoning, it helps bring out all the other amazing flavors. Also, make sure your ingredients are fresh. It might seem obvious, but using cream that's been sitting in the fridge for a week won't give you the same results as using cream you just bought. It’s like using fresh herbs versus dried ones; the fresh ones always have a more vibrant flavor. So, do yourself a favor and use the freshest, highest quality ingredients you can find.
The Art of Chilling and Freezing
Alright, so we've got our ingredients sorted, now let's talk about the chilling and freezing process. Remember how I said to chill your stand mixer bowl overnight? Yeah, that's not a suggestion, it's a must! A cold bowl helps the ice cream mixture freeze faster and more evenly, which is key to getting a smooth, creamy texture. It's like preheating your oven before you bake a cake; it's a crucial step that you can't skip. If you are using the ice cream maker method, make sure your ice cream maker bowl is properly frozen as per the manufacturer's instructions. This step is critical for the ice cream to freeze properly. Think of it as giving your ice cream maker a head start.
Also, when freezing your ice cream after churning, don't just throw it in the freezer and forget about it. Make sure to use a freezer-safe container with an airtight lid. This prevents freezer burn and keeps your ice cream tasting fresh. It's like putting your leftovers in a good container; it helps preserve the flavor and quality. And resist the urge to open the freezer every 5 minutes to check on it, it is like checking on a cake every few minutes, it does not help. Let it freeze for at least 2-3 hours, or even better, overnight. The longer it freezes, the firmer and more scoopable it will be. Patience is definitely a virtue when it comes to making ice cream. I know it's hard to wait, but trust me, it's worth it.
Tip | Why it Matters |
|---|---|
Use High-Quality Cream | Ensures a rich, creamy texture |
Real Mexican Vanilla Extract | Provides unique, warm, and complex flavor |
Pinch of Salt | Enhances the other flavors and prevents it from being too sweet |
Chill Bowl Overnight | Helps the ice cream freeze faster and more evenly |
Airtight Container | Prevents freezer burn and keeps ice cream fresh |
Serving and Storing Your Homemade Mexican Vanilla Ice Cream
Serving and Storing Your Homemade Mexican Vanilla Ice Cream
Serving Suggestions
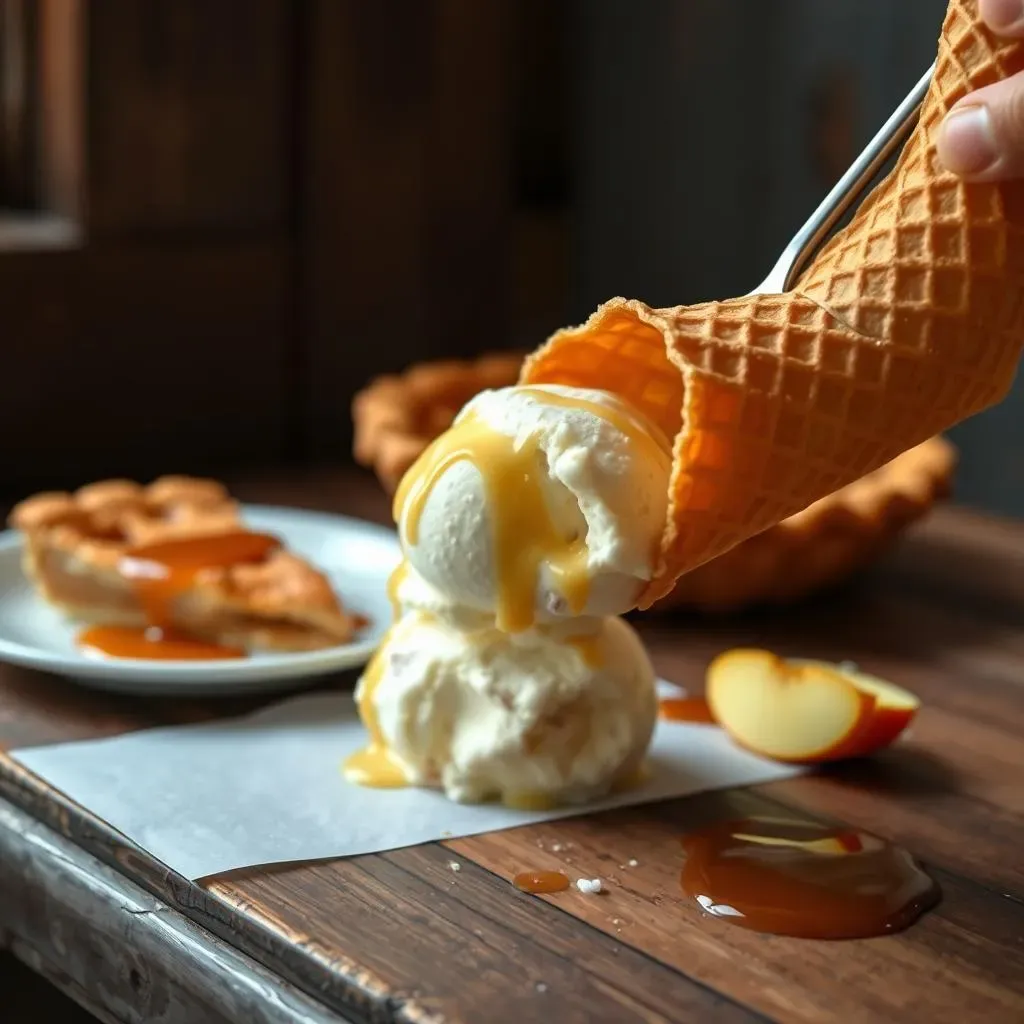
so you've made this amazing Mexican vanilla ice cream, now what? Well, the possibilities are endless! You can, of course, enjoy it straight from the container with a spoon, that's my go-to method when I'm feeling lazy, but let's explore some fun ways to serve it. A classic option is to scoop it into a crispy waffle cone or a bowl. It's simple, timeless, and always satisfying. But why stop there? How about pairing it with a warm slice of apple pie or a gooey chocolate brownie? The contrast between the hot dessert and the cold ice cream is just heavenly. It's like a party in your mouth, and everyone's invited.
Another great idea is to use it as a topping for a sundae. Add some hot fudge, whipped cream, sprinkles, and a cherry on top, and you've got yourself a showstopper. Or, for a lighter option, you can pair it with fresh fruit like berries or peaches. It's a refreshing and delicious way to enjoy the ice cream. And let's not forget about milkshakes! Mexican vanilla ice cream makes the most incredible milkshakes. Just blend it with some milk and maybe a touch of extra cinnamon, and you'll have a creamy, dreamy drink that you won't be able to resist. It's so versatile and delicious that it can be the star of any dessert plate. Trust me, once you start experimenting, you'll never want to go back to store-bought ice cream again.
Proper Storage
Now, let's talk about storage, because let’s be real, you might not eat all of it in one sitting. To keep your homemade Mexican vanilla ice cream fresh and delicious, you'll want to store it properly. The best way to do this is to transfer it to an airtight container. This prevents freezer burn and keeps the ice cream from absorbing any unwanted odors from your freezer. It’s like giving it a cozy little home so it stays safe and sound. Make sure to press a piece of plastic wrap directly onto the surface of the ice cream before putting the lid on. This helps prevent ice crystals from forming on top, which can mess with the texture. It is like giving it an extra layer of protection.
If you're using a container that isn't completely airtight, you can wrap the container with plastic wrap before putting the lid on. This just gives it an extra layer of protection. And remember, always label your container with the date you made the ice cream, that way you know how long it's been in the freezer. While homemade ice cream is best enjoyed within a week or two, it can last up to a month in the freezer if stored properly. But who are we kidding, it probably won't last that long. It's too good to resist! I always say, the faster you eat it, the better it tastes, but if you need to store it, these tips will help you keep it tasting great for as long as possible.
Serving Suggestion | Description |
|---|---|
Waffle Cone or Bowl | Classic and simple way to enjoy the ice cream |
With Warm Dessert | Pair with apple pie or brownies for a delightful contrast |
Sundae | Top with hot fudge, whipped cream, and sprinkles |
With Fresh Fruit | Combine with berries or peaches for a refreshing option |
Milkshake | Blend with milk for a creamy and satisfying drink |
Storage Tips Summary
- Use an airtight container.
- Press plastic wrap on the surface to prevent ice crystals.
- Wrap the container with plastic wrap for extra protection if needed.
- Label the container with the date.
The Sweet Finale: Enjoying Your Mexican Vanilla Ice Cream
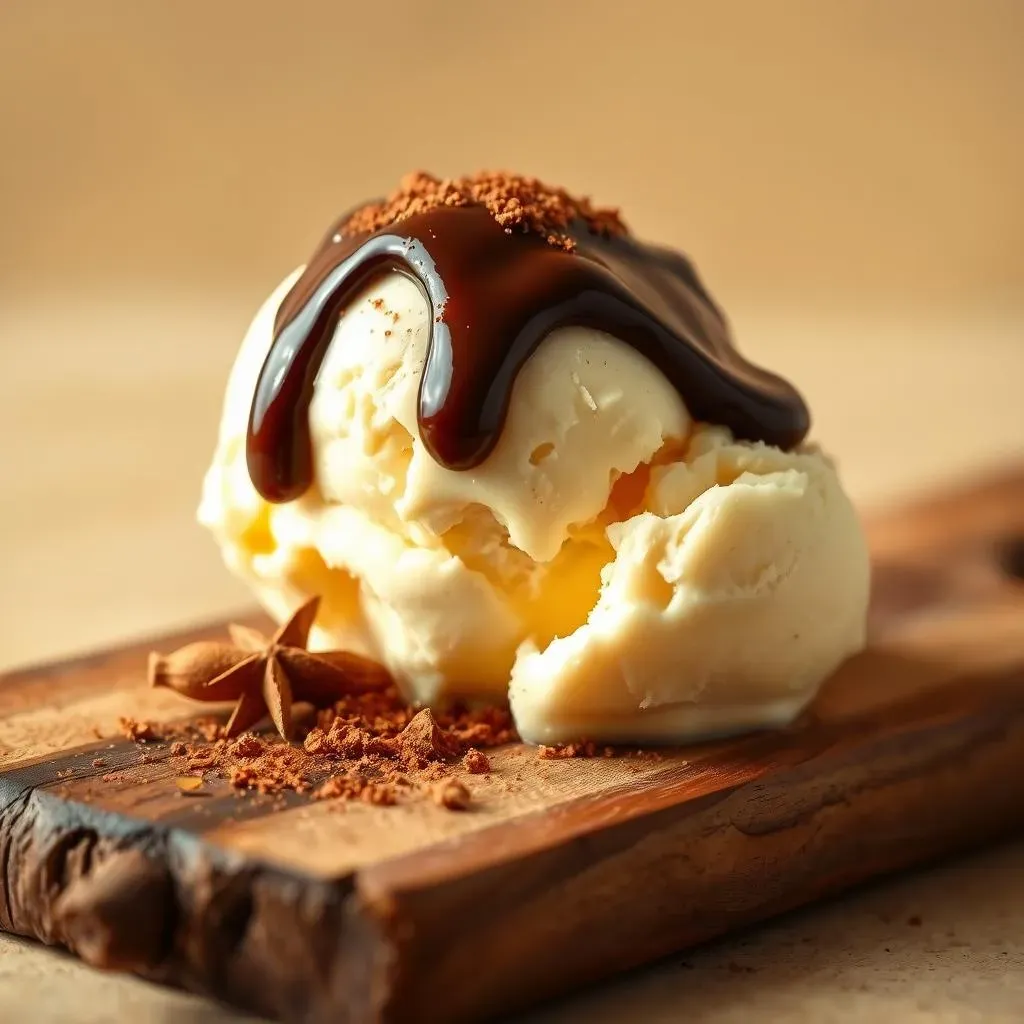
There you have it, a homemade batch of incredibly delicious Mexican vanilla ice cream, made with love and a little bit of effort. Whether you chose the stand mixer method or the ice cream maker route, you've created a dessert that's far superior to anything you can find in a store. This ice cream is amazing on its own, but it also pairs wonderfully with fresh fruit, warm brownies, or a drizzle of chocolate sauce. Don't be afraid to experiment and make it your own! The best part? You get to share this amazing treat with the people you care about. So, grab a spoon, savor each bite, and pat yourself on the back for mastering the art of homemade mexican ice cream vanilla. Now go on, make another batch – you deserve it!