Table of Contents
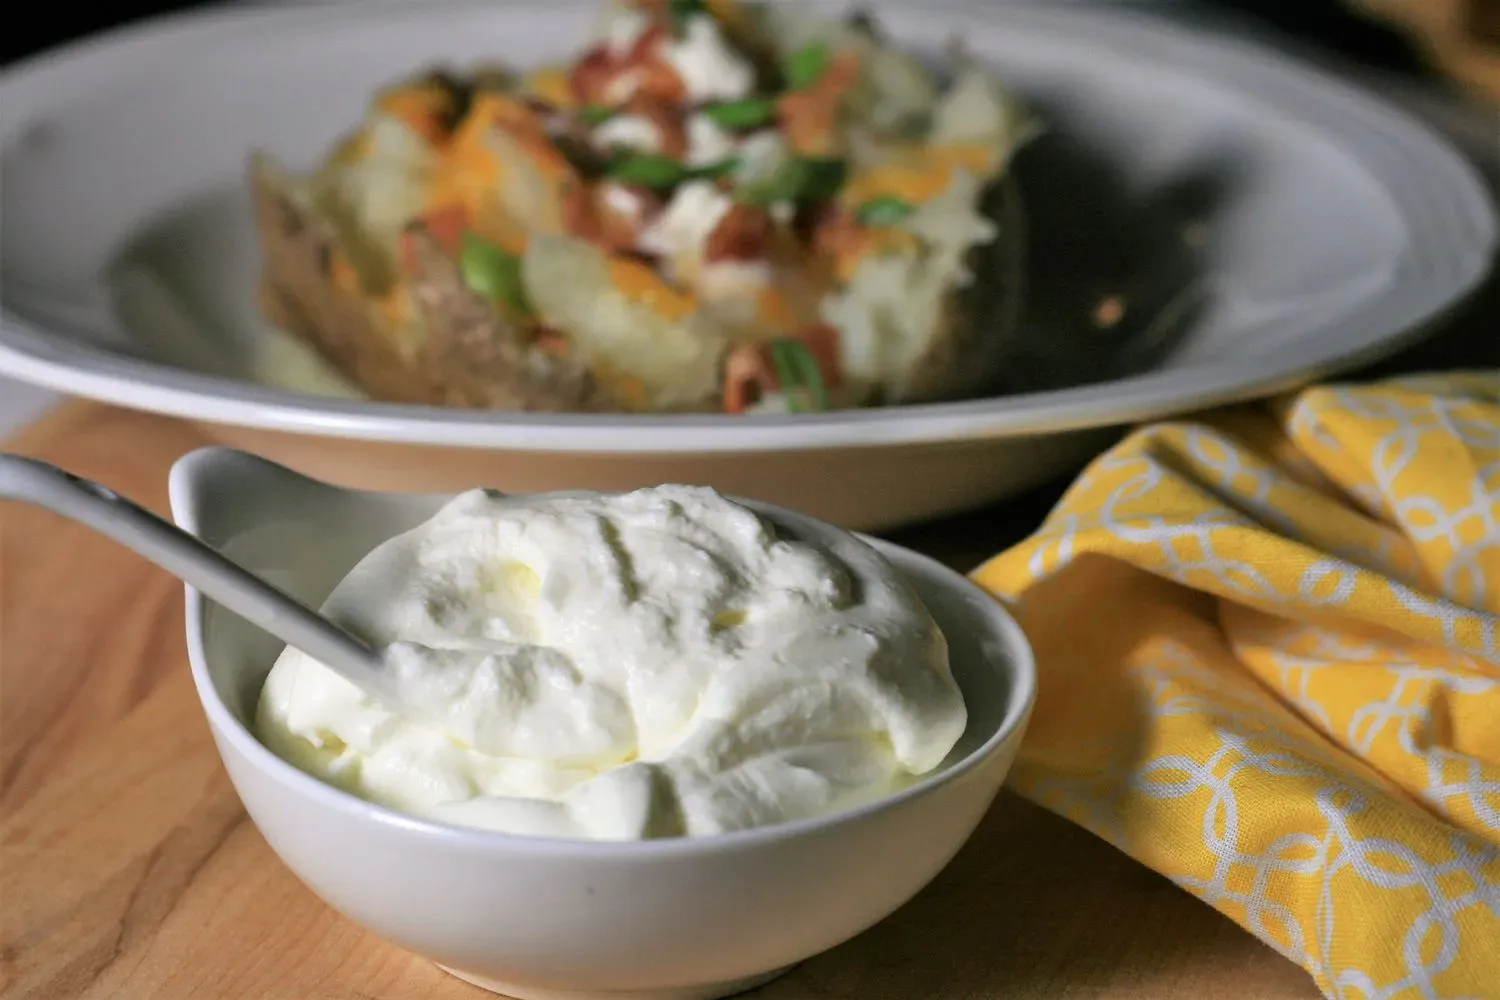
Ever reach for the sour cream carton only to find it's empty? Or maybe you just wonder what exactly goes into that tangy dollop you love on tacos, chili, or baked potatoes? Forget the store-bought stuff for a minute. Turns out, figuring outsour cream how to makeat home isn't some arcane kitchen magic reserved for dairy wizards. It's surprisingly simple, requiring minimal ingredients and effort.
Gathering Your Gear: Ingredients and Equipment for Homemade Sour Cream
Gathering Your Gear: Ingredients and Equipment for Homemade Sour Cream
The Dairy Duo: Cream and Milk
Alright, let's cut to the chase onGathering Your Gear: Ingredients and Equipment for Homemade Sour Cream. First up, you need the dairy. Think heavy cream and whole milk. Don't mess around with low-fat versions here; you need the fat content for that luscious, thick texture everyone expects from sour cream. The magic happens when bacteria (or the acid we add) works on the fat. Less fat means less magic. Get the good stuff, room temperature is key, but we'll get to that later.
- Heavy Cream: At least 30% milk fat is ideal. The higher, the better for thickness.
- Whole Milk: Provides a bit more liquid and contributes to the overall culture development.
- Acid Source: Lemon juice or white vinegar work wonders if you aren't using a specific culture starter. About 1 tablespoon per cup of cream is a good ratio to start.
Simple Tools: Jars and Spoons
You don't need a chemistry set for this. Your kitchen likely already has everything required. A clean glass jar with a lid is essential – something around 16 ounces is usually enough for a decent batch. Cleanliness is paramount; any lingering bacteria from previous projects can mess up your sour cream. Give that jar a good wash, maybe even a quick rinse with boiling water if you're feeling paranoid. Beyond that, you'll need some measuring spoons or cups for your liquids.
Why These Work: The Science (Sort Of)
So, why these specific items? The cream provides the rich base. The milk helps distribute everything and gives the bacteria (whether natural or acid-induced) something to work with. The acid, like lemon juice or vinegar, lowers the pH, which encourages the milk proteins to curdle and thicken, mimicking the action of lactic acid bacteria used in commercial versions. The jar just keeps it all contained and away from airborne contaminants while it does its thing. It's less about fancy gadgets and more about letting simple ingredients interact correctly.
Getting Started: The Right Temperature Matters
Getting Started: The Right Temperature Matters
Why Temperature Isn't Optional
so you've got your cream, milk, and acid ready to go. You might think, "Just mix it and forget it, right?" Not quite.Getting Started: The Right Temperature Matterssignificantly more than you'd expect when making sour cream at home. We're dealing with dairy and encouraging a specific reaction to happen. If the liquids are too cold, the acid won't work as efficiently, or if you were using a culture, the bacteria would just sit there like they're waiting for a bus that never shows up. If it's too hot, well, you risk killing off any beneficial bacteria (again, if using a culture) or just ending up with something that looks less like sour cream and more like sad, separated curdled milk. It needs to be just right, Goldilocks style.
Aiming for Room Temperature Sweet Spot
What's "just right," you ask? We're aiming for typical room temperature, specifically between 67°F and 72°F (that's about 21°C to 26°C). This isn't a wild guess. This range gives the acid the optimal environment to work its magic and thicken the cream properly over time. Pull your cream and milk out of the fridge well before you plan to start – give them a few hours to come up to temperature. Trying to rush this step by heating them can negatively impact the texture and the final tang. Patience here pays off with a smoother, more consistent result.
- Too Cold: Slows down thickening, may not thicken at all.
- Too Hot: Can curdle prematurely, might kill cultures if used, results in poor texture.
- Just Right (67-72°F): Encourages proper thickening and tang development.
Sour Cream How to Make: The Simple Mixing and Waiting Process
Sour Cream How to Make: The Simple Mixing and Waiting Process
Mixing It Up (Gently)
Alright, let's get down to the actual process ofSour Cream How to Make: The Simple Mixing and Waiting Process. You've got your room-temperature dairy and your clean jar. This part is ridiculously easy. Pour the heavy cream into the jar first. Then, add your whole milk. Finally, measure out your acidic ingredient – that tablespoon of lemon juice or white vinegar per cup of cream we talked about – and pour it in. Cap the jar tightly. Now, give it a gentle shake, just enough to get everything acquainted. Don't go crazy like you're making a cocktail; a few inversions or swirls will do. The goal is to disperse the acid throughout the cream and milk mixture.
- Combine room-temperature heavy cream and whole milk in a clean jar.
- Add the acidic ingredient (lemon juice or vinegar).
- Seal the jar tightly.
- Gently shake or swirl to mix the ingredients.
The Long Wait: Patience, Young Padawan
Once everything is mixed, find a spot for your jar where the temperature stays consistently in that 67-72°F range we discussed. This isn't the fridge, and it's not directly in a sunny window. A kitchen counter, away from drafts or heat sources, is usually perfect. Leave it alone. Seriously, resist the urge to peek or shake it again. The magic happens undisturbed. Let it sit there for about 24 hours. During this time, the acid is doing its job, causing the proteins to coagulate and thicken the mixture. You'll notice it getting visibly thicker, and sometimes a layer of thinner liquid (whey) might separate on top. This is normal, not a sign of failure.
What happens if it doesn't thicken after 24 hours? A few possibilities:
- The room was too cold.
- Your dairy wasn't truly room temperature when you started.
- The acid wasn't strong enough (rare with fresh lemon juice or vinegar).
- You didn't use full-fat dairy.
Storing Your Success: Keeping Homemade Sour Cream Fresh

Storing Your Success: Keeping Homemade Sour Cream Fresh
From Jar to Fridge: The Transfer
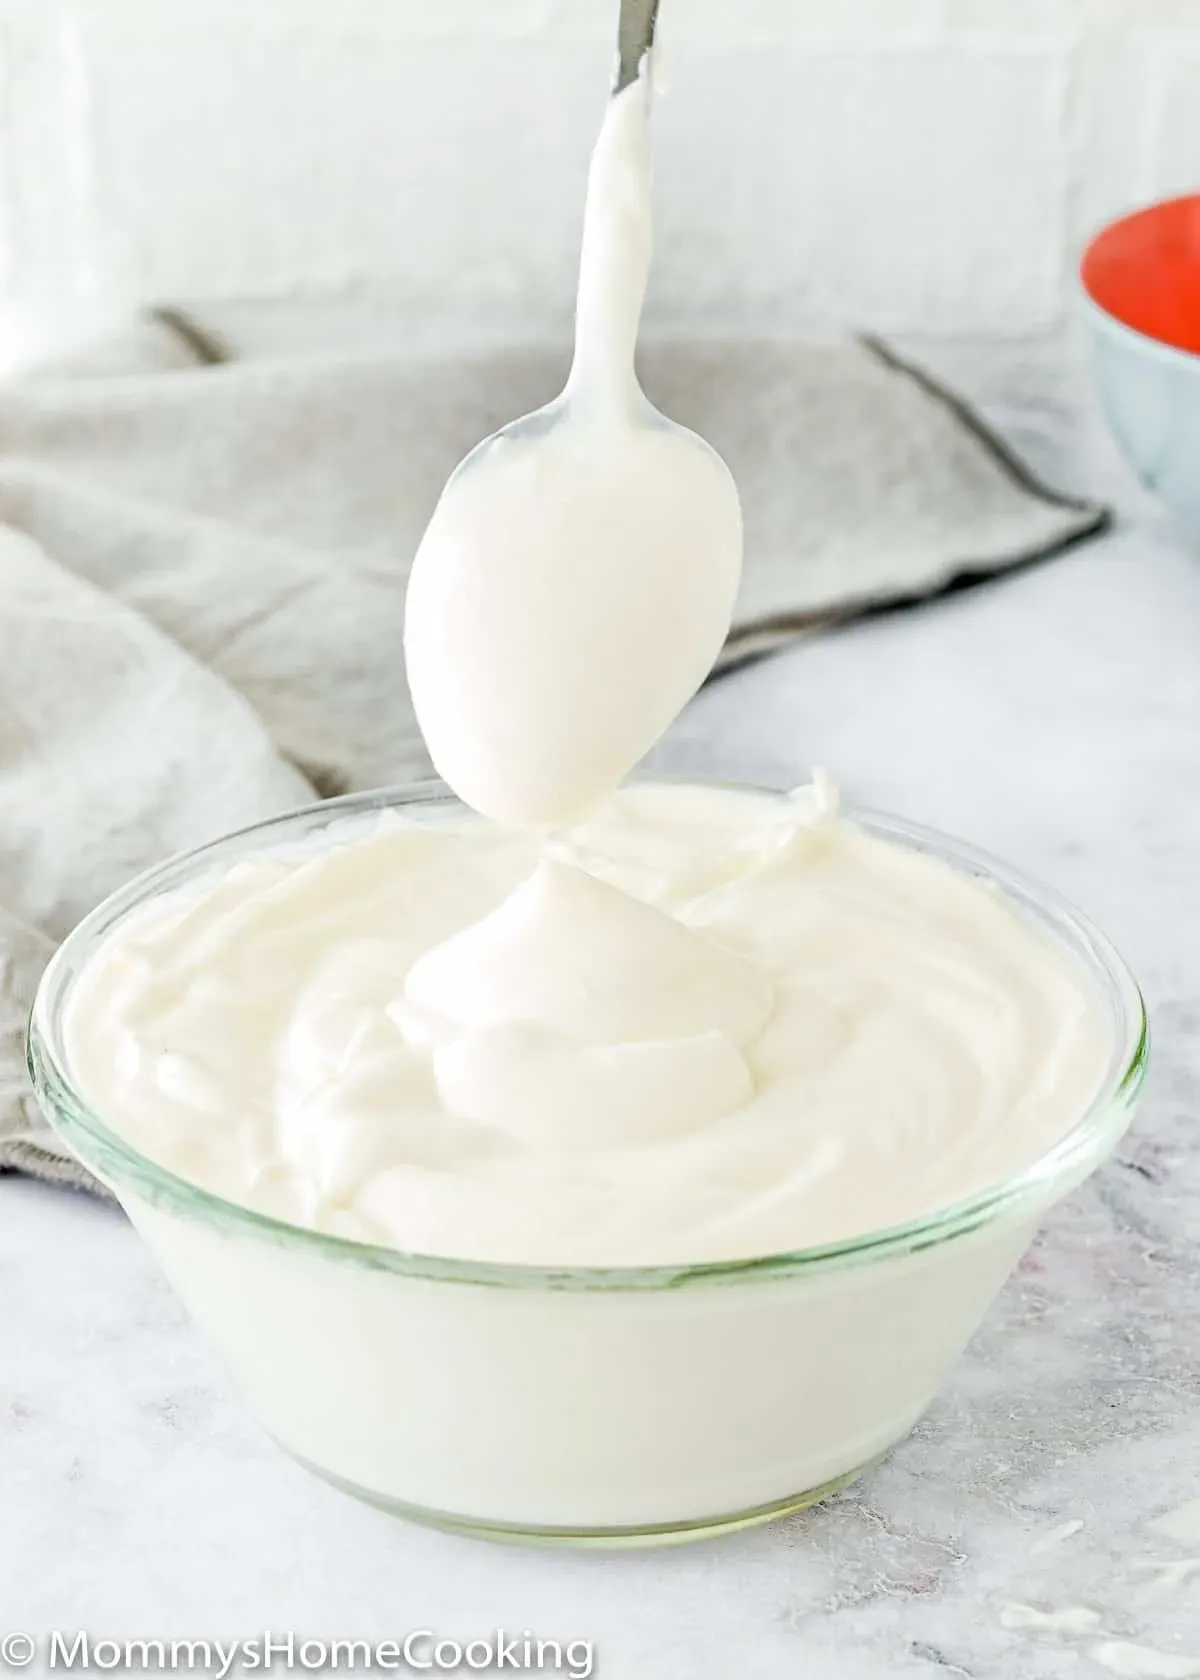
Alright, you've waited 24 hours, maybe a bit longer depending on your room temperature, and your creamy concoction is looking thick and tangy. Congratulations, you've made sour cream! Now, don't just leave it on the counter indefinitely. The next crucial step isStoring Your Success: Keeping Homemade Sour Cream Freshby getting it into cold storage. Before you do that, take a look. See that thin layer of liquid on top? That's whey. You can either spoon it off for a super thick sour cream, or you can stir it back in. Stirring makes it a bit thinner and smoother, more like some commercial varieties. It's really up to your preference. Once you've decided, give it a final gentle stir if you're incorporating the whey, or just leave the thickened cream as is if you've drained it. Then, securely lid that jar.
Refrigeration and Shelf Life Realities
Immediately after your sour cream reaches your desired consistency and you've dealt with any separated whey, it goes straight into the refrigerator. This significantly slows down any further bacterial activity (if you used a culture) or acid development (if you used lemon juice/vinegar), preventing it from becoming overly sour or developing off-flavors. Stored properly in a clean, airtight container in the fridge, your homemade sour cream is typically good for up to two weeks. You'll know it's past its prime if you see significant mold growth, a truly foul smell (a slight tang is normal, but rank is not), or if the texture changes drastically from creamy to slimy or overly watery beyond the initial whey separation. Trust your nose and your eyes. When in doubt, throw it out.
Storage Location | Expected Shelf Life | Signs of Spoilage |
|---|---|---|
Refrigerator (Airtight Container) | Up to 2 weeks | Mold, strong off-odor, slimy texture |
Countertop (Post-fermentation) | Not Recommended | Rapid spoilage, potential for harmful bacteria |
Your Own Tangy Creation
So there you have it. No secret handshake, no obscure ingredients found only in remote monasteries. Just a little dairy, a splash of acid, and some patience. Making sour cream at home isn't about becoming a master cheesemaker overnight; it's about taking a common kitchen staple and realizing you don't need a factory to produce it. You mix, you wait, and you get a thick, tangy result that's ready for whatever you throw at it. It works, it’s simple, and frankly, it feels pretty good to know exactly what went into that dollop on your plate.