Table of Contents
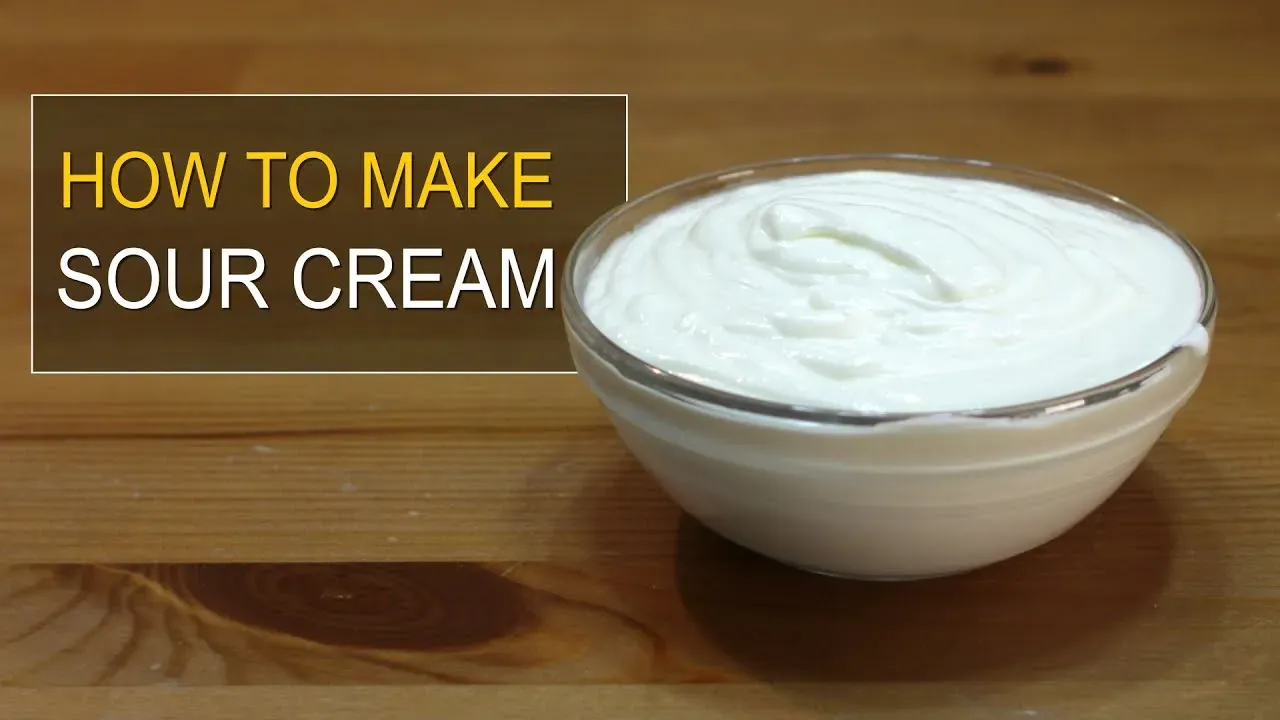
Ever been halfway through making tacos or baking a cake, only to realize the sour cream tub in the fridge is empty? It happens. Store-bought sour cream is convenient, sure, but sometimes you're in a pinch, or maybe you just want to know exactly what's going into your food. Turns out, you don't need a dairy farm or a science degree to whip up a batch yourself. Mastering a good sour cream recipe how to make it from scratch is surprisingly simple, requiring just a couple of common ingredients you might already have chilling in your kitchen.
Why Bother with a Homemade Sour Cream Recipe?
Why Bother with a Homemade Sour Cream Recipe?
Beyond the Empty Tub Emergency
let's be real. The most common reason anyone even *thinks* about a homemade sour cream recipe is the classic "I need it now and the store's closed/too far/I'm too lazy to go" scenario. We've all been there. You're geared up for chili night or about to frost that cake, reach into the fridge, and find... nothing. Or maybe just a sad, moldy corner you wouldn't wish on your worst enemy. Knowing how to whip up a batch from simple pantry staples saves the day. It's pure, unadulterated kitchen MacGyver stuff. No emergency grocery run required.
Taking Control of Your Cream
But honestly, Why Bother with a Homemade Sour Cream Recipe? beyond just avoiding a crisis? It boils down to control. Look at the ingredient list on some store brands – thickeners, stabilizers, things that sound like they belong in a lab, not your food. Making it yourself means you know exactly what's in it: dairy and a little something to make it tangy. Plus, you can slightly adjust the tanginess or thickness to your liking. It’s less about being a purist and more about simple ingredients doing their job.
So, what's the payoff for your minimal effort?
- Avoids last-minute store trips.
- Uses simple, recognizable ingredients.
- Potentially cheaper over time if you use a lot.
- Gives you bragging rights (minimal, perhaps, but still something).
- You can tweak the flavor slightly.
Gathering Your Simple Ingredients for This Sour Cream Recipe
Gathering Your Simple Ingredients for This Sour Cream Recipe
Alright, so you're sold on the idea of making your own. Good. Now, let's talk about Gathering Your Simple Ingredients for This Sour Cream Recipe. You aren't going to need anything exotic here. Think basic dairy aisle stuff. The core players are usually heavy cream and something acidic to kick off the souring process. We're talking milk and white vinegar or lemon juice, or sometimes buttermilk acts as both the acid and the starter culture. That's it. No weird powders, no long lists of preservatives. Just simple stuff you probably have or can grab easily.
StepbyStep: How to Make Sour Cream at Home

StepbyStep: How to Make Sour Cream at Home
Mixing the Magic Base
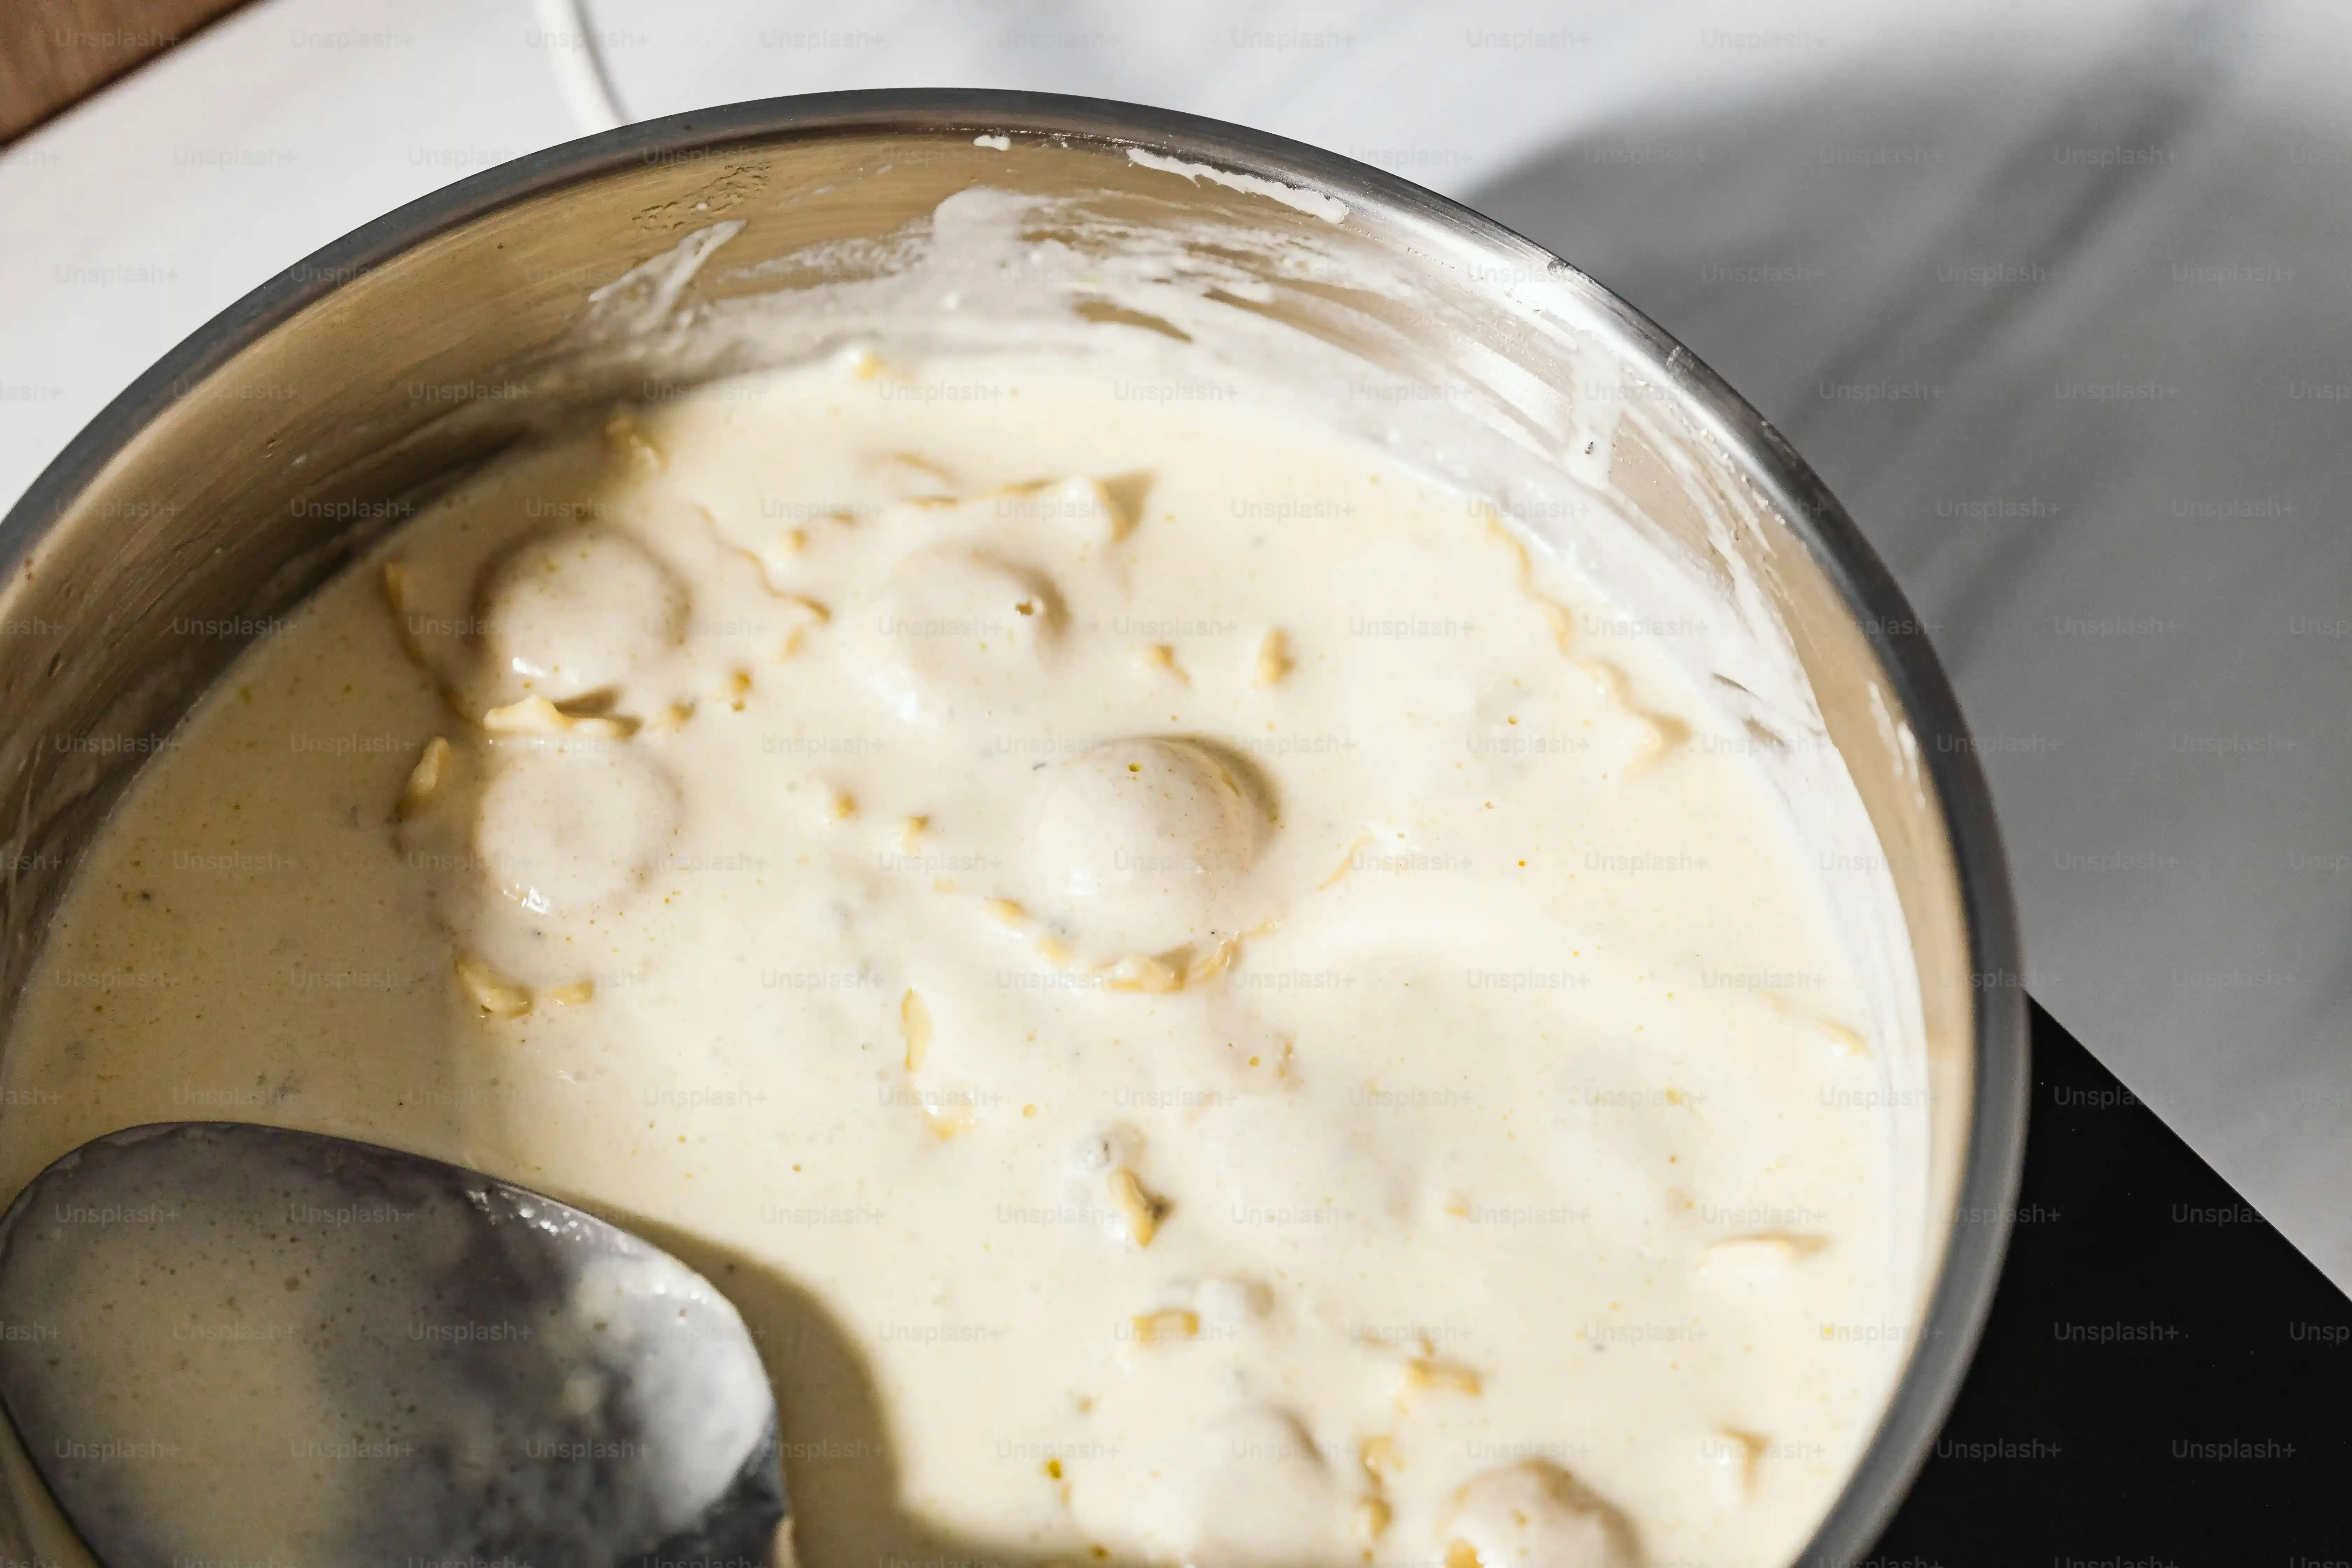
Alright, let's get down to the nitty-gritty of this sour cream recipe how to make it work. First things first, grab a clean jar or container. Seriously, make sure it's clean; you don't want any rogue bacteria messing with your carefully crafted tang. Pour in your heavy cream. This is the foundation. Now, you need that acidic kick. If you're using milk and vinegar or lemon juice, mix the milk and acid in a separate small bowl first and let it sit for about 5-10 minutes. You'll see it curdle slightly – that's the acid doing its job on the milk proteins. It looks a bit weird, but trust the process. Once that's had a moment, pour it into your jar with the heavy cream.
If you're going the buttermilk route, which is often easier because it already contains the necessary cultures, you just pour the buttermilk directly into the heavy cream. No need for that separate milk-and-acid step. Give the mixture a good stir or whisk to combine everything thoroughly. You want the acidic component or the buttermilk cultures distributed evenly throughout the cream. This initial mix is crucial for getting the texture and tang right later on. Seal the jar or container loosely; it doesn't need to be airtight.
The Waiting Game and Finishing Touches
Now comes the hard part for the impatient among us: waiting. Place your loosely covered jar at room temperature. This is where the magic happens – the acid or the cultures work on the cream, thickening it and developing that signature sour flavor. How long does this take? Typically, 12 to 24 hours. You'll notice it gets thicker as time passes. Don't rush it. Give it a peek after 12 hours. If it's still too thin for your liking, let it sit longer. The warmer your room, the faster it will culture, but extreme heat isn't your friend here; average room temp is perfect. You're looking for a consistency similar to, well, store-bought sour cream.
Once it reaches your desired thickness and tang (give it a little taste if you're unsure after 18-24 hours), it's time to chill out. Literally. Pop the jar in the refrigerator. This stops the culturing process and helps it thicken even more as it cools. It really needs a few hours in the fridge to firm up properly before you try to use it. Don't expect it to be super thick right when you pull it off the counter. The cold is key to achieving that scoopable texture. And there you have it – your very own homemade sour cream, ready for action.
Quick Checklist for Success:
- Use clean containers.
- Combine ingredients thoroughly.
- Maintain room temperature during culturing (12-24 hours).
- Chill for at least 4 hours before using.
- Taste test for desired tanginess before refrigerating.
Troubleshooting Common Issues with Your Homemade Sour Cream Recipe

Troubleshooting Common Issues with Your Homemade Sour Cream Recipe
When Your Cream Won't Thicken
So you followed the sour cream recipe how to make instructions, waited patiently for 24 hours, and peeked into the jar only to find... it looks pretty much like it did when you started. Still liquidy. This is a common hiccup when you're first trying to make sour cream at home. The usual culprit? Temperature. The bacteria or acid starter needs a warm enough environment to do its job of thickening the cream. If your kitchen is on the cooler side, especially during winter, the process slows way down or stops altogether. Giving it more time can sometimes help, but if it's still stubbornly thin after 36 hours at average room temperature, the culture might not have been active enough, or the temperature was simply too low. Ensure your room is consistently above 70°F (21°C) for best results.
Dealing with Separation or Grainy Texture
Another snag you might hit with a homemade sour cream recipe is ending up with a separated or grainy mess instead of a smooth, creamy product. Separation often happens if the mixture gets too warm during the culturing phase or if you let it go for too long. The whey (liquid) starts to separate from the curds (solids). A little separation is normal and you can often just stir it back in after chilling. However, excessive separation or a truly grainy texture usually indicates the culture went a bit wild or the initial mixing wasn't thorough. Make sure your heavy cream and starter are well combined before letting it sit. Extreme temperature fluctuations can also contribute to this issue.
If you encounter this:
- Don't panic about slight separation; stir it in after chilling.
- For significant separation, you can try straining some whey, but the texture might still be off.
- Graininess is harder to fix; it often means starting over with a fresh batch and ensuring consistent temperature and thorough mixing.
Off Flavors or Unwanted Growth
Ideally, your homemade sour cream should taste pleasantly tangy and fresh. If you get an off-flavor – metallic, bitter, or just plain weird – or worse, see any fuzzy or colored spots (mold), something went wrong. The most frequent cause is contamination. This is why using scrupulously clean jars and utensils is critical. Any lingering bacteria or mold spores can take over and spoil the batch. Using old or poor-quality dairy can also contribute to undesirable flavors. If you see mold, discard the entire batch immediately; it's not safe to consume. If the flavor is just "off" but no mold is present, it might be due to the type of starter used or the temperature, but when in doubt, it's usually safer to toss it and try again with clean equipment and fresh ingredients.
Putting Your Homemade Sour Cream to Use and Storing It
Putting Your Homemade Sour Cream to Use and Storing It
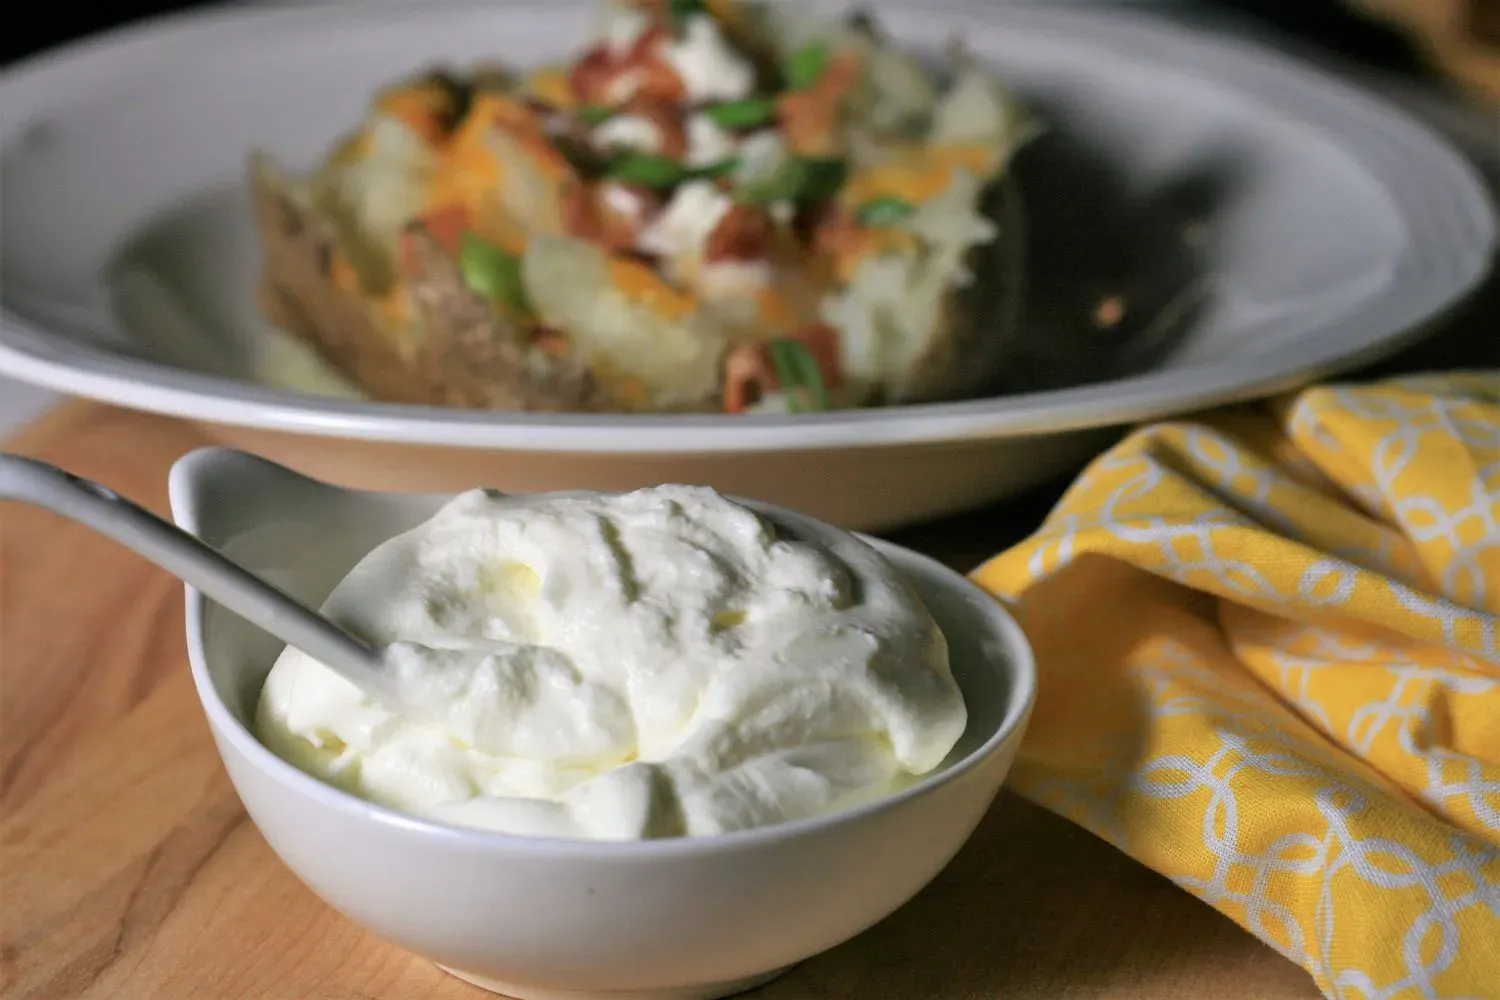
Alright, you've successfully navigated the culturing process and chilled your homemade sour cream. Now what? The beauty of having this stuff on hand is its versatility. Use it anywhere you'd use the store-bought version: dolloped onto chili or baked potatoes, stirred into sauces for richness, mixed into dips, or even folded into baked goods like biscuits or cakes for tenderness. Because you made it yourself, it might have a slightly different tang or texture than what you're used to from the grocery aisle, which can actually be a good thing – a little more character. Just remember that heating it too aggressively can cause it to separate, so if adding it to hot dishes, stir it in off the heat or temper it first.
The Final Dollop: Wrapping Up Your Homemade Sour Cream
So there you have it. Making your own sour cream isn't some arcane culinary art reserved for chefs in tall hats. It's a basic kitchen hack that saves you a trip to the store and gives you control over what's in your food. You mixed some liquids, waited a bit, and ended up with a tangy, creamy result. It might not change the world, but it'll definitely improve your next batch of nachos or add richness to that cake batter. Give it a shot; worst case, you learn something. Best case, you've always got sour cream on hand.